Quick Summary
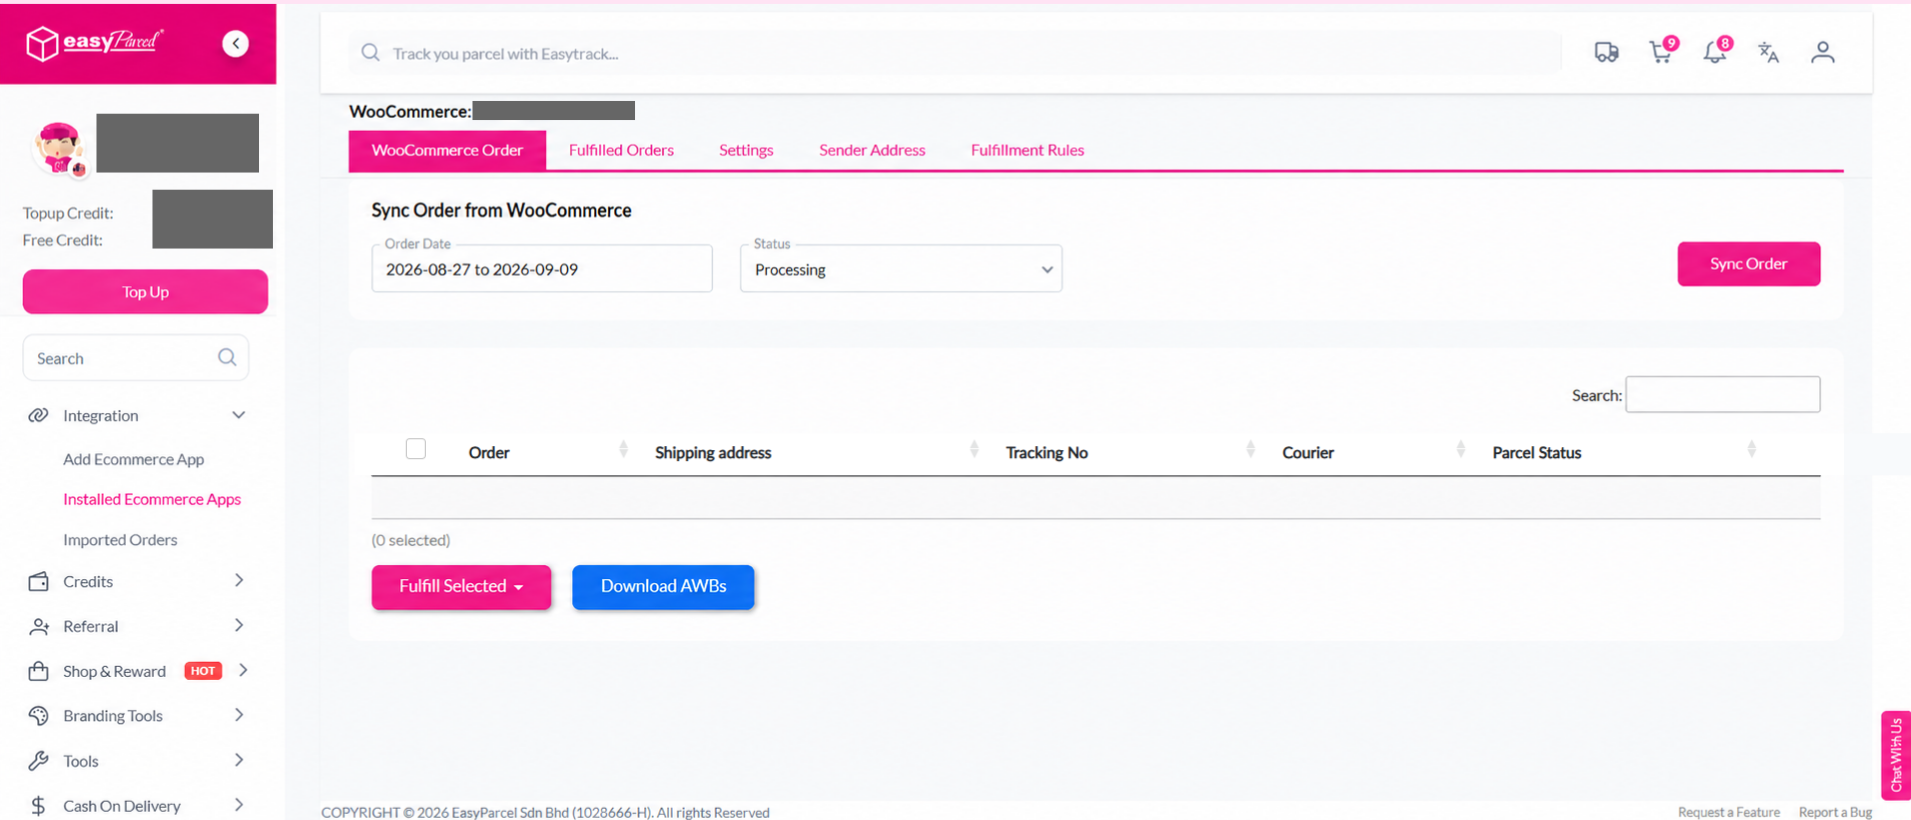
Integrating EasyParcel with WooCommerce can be done through two methods: the Seamless Version or the Import Version. The Seamless Version provides a more seamless experience by allowing merchants to display real-time shipping rates at checkout and fulfill orders directly within the WooCommerce admin panel. Alternatively, the Import Version involves connecting the platforms via WooCommerce REST API keys to pull orders into the EasyParcel dashboard for manual processing. To complete the setup for either method, users must configure their store details, weight units, and preferred courier settings to ensure accurate shipping costs and automated label generation.
Setting up Integration (Seamless Version)
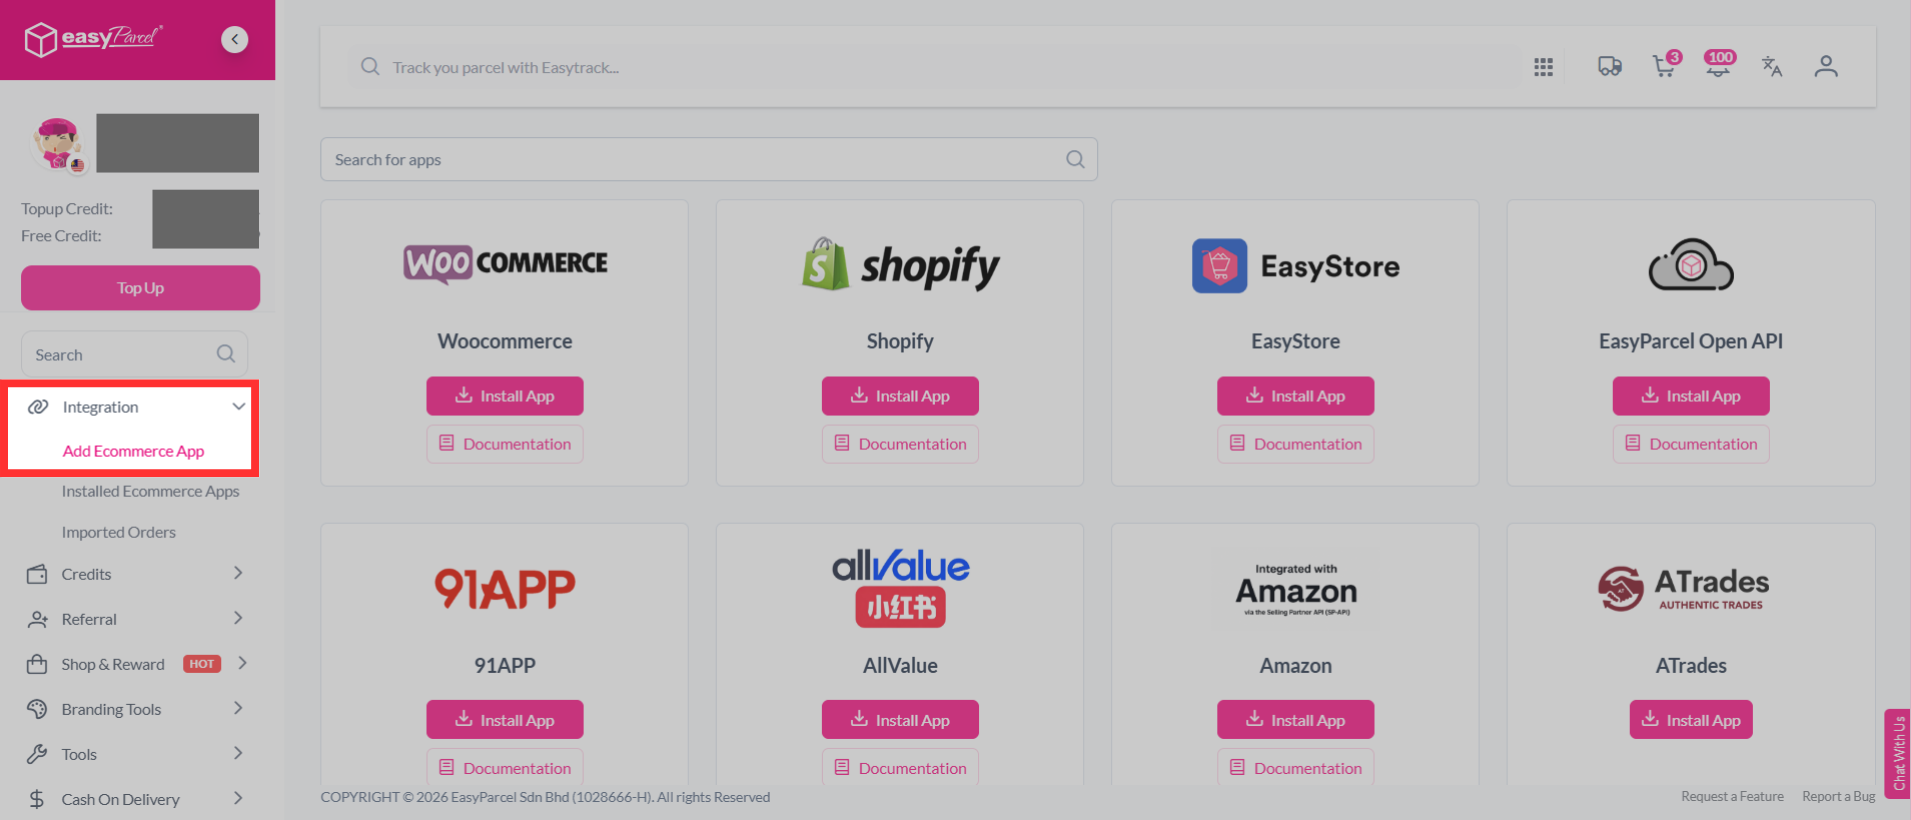
Step 1: From the dashboard, navigate to "Integration" and select it. Then, click "Add Ecommerce App".
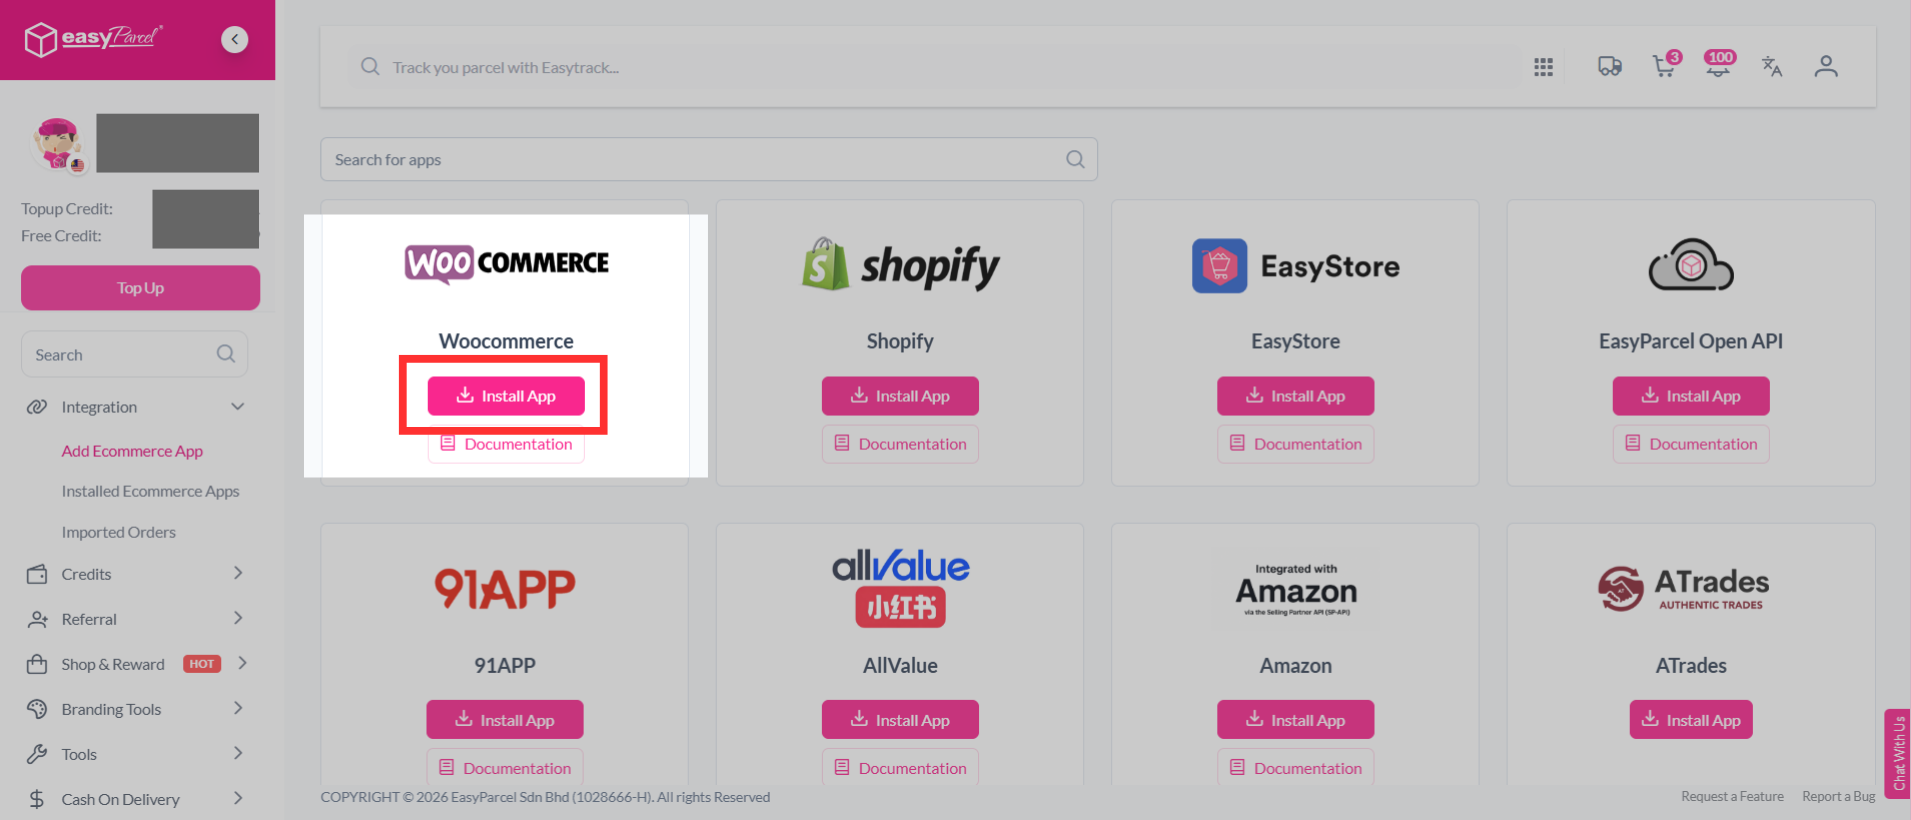
Step 2: Find "WooCommerce" from the list, and click "Install App".
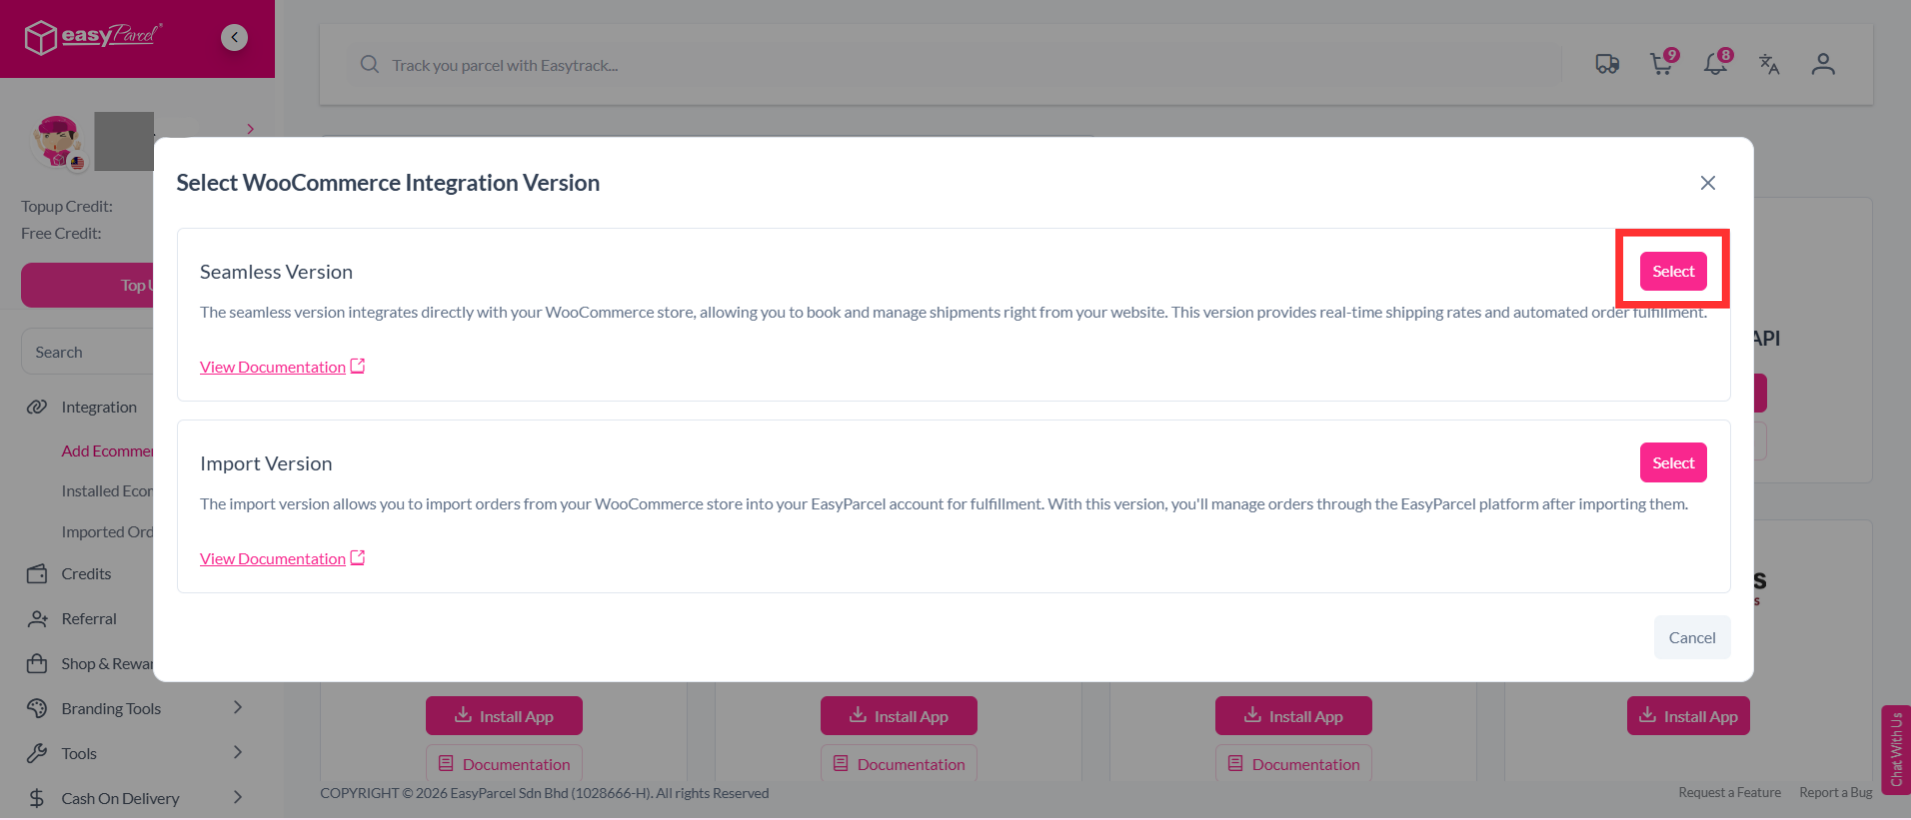
Step 3: Select "Seamless Version".
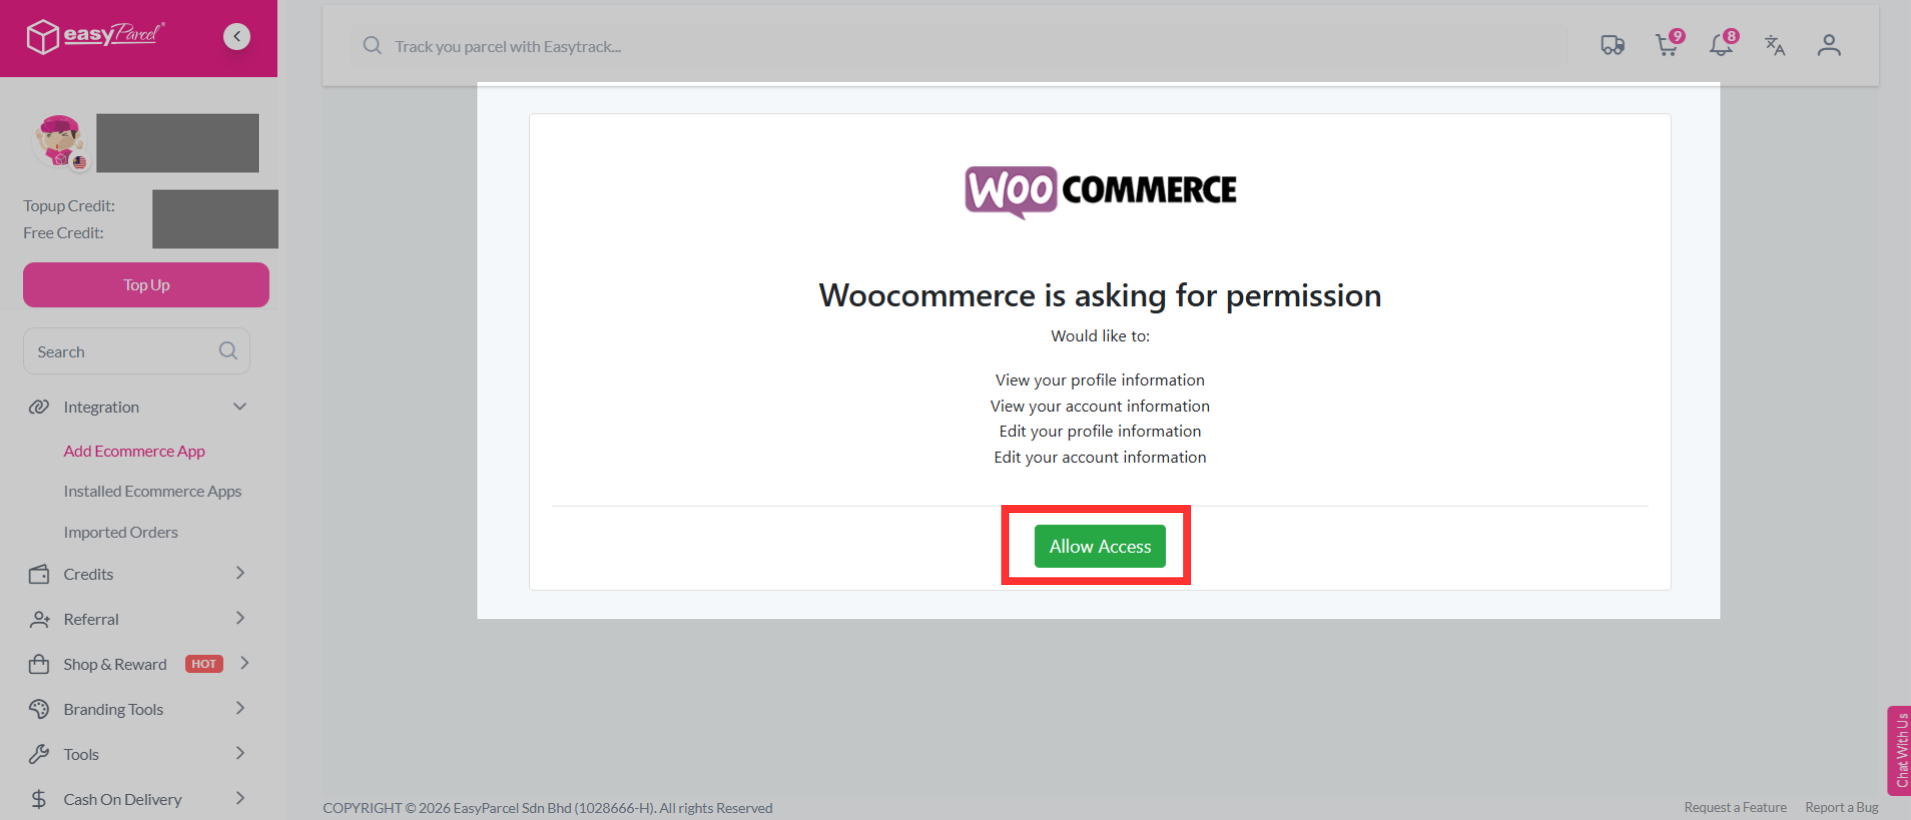
Step 4: WooCommerce will ask for permission to connect with EasyParcel. Review the requested permissions, then click "Allow Access" to continue.
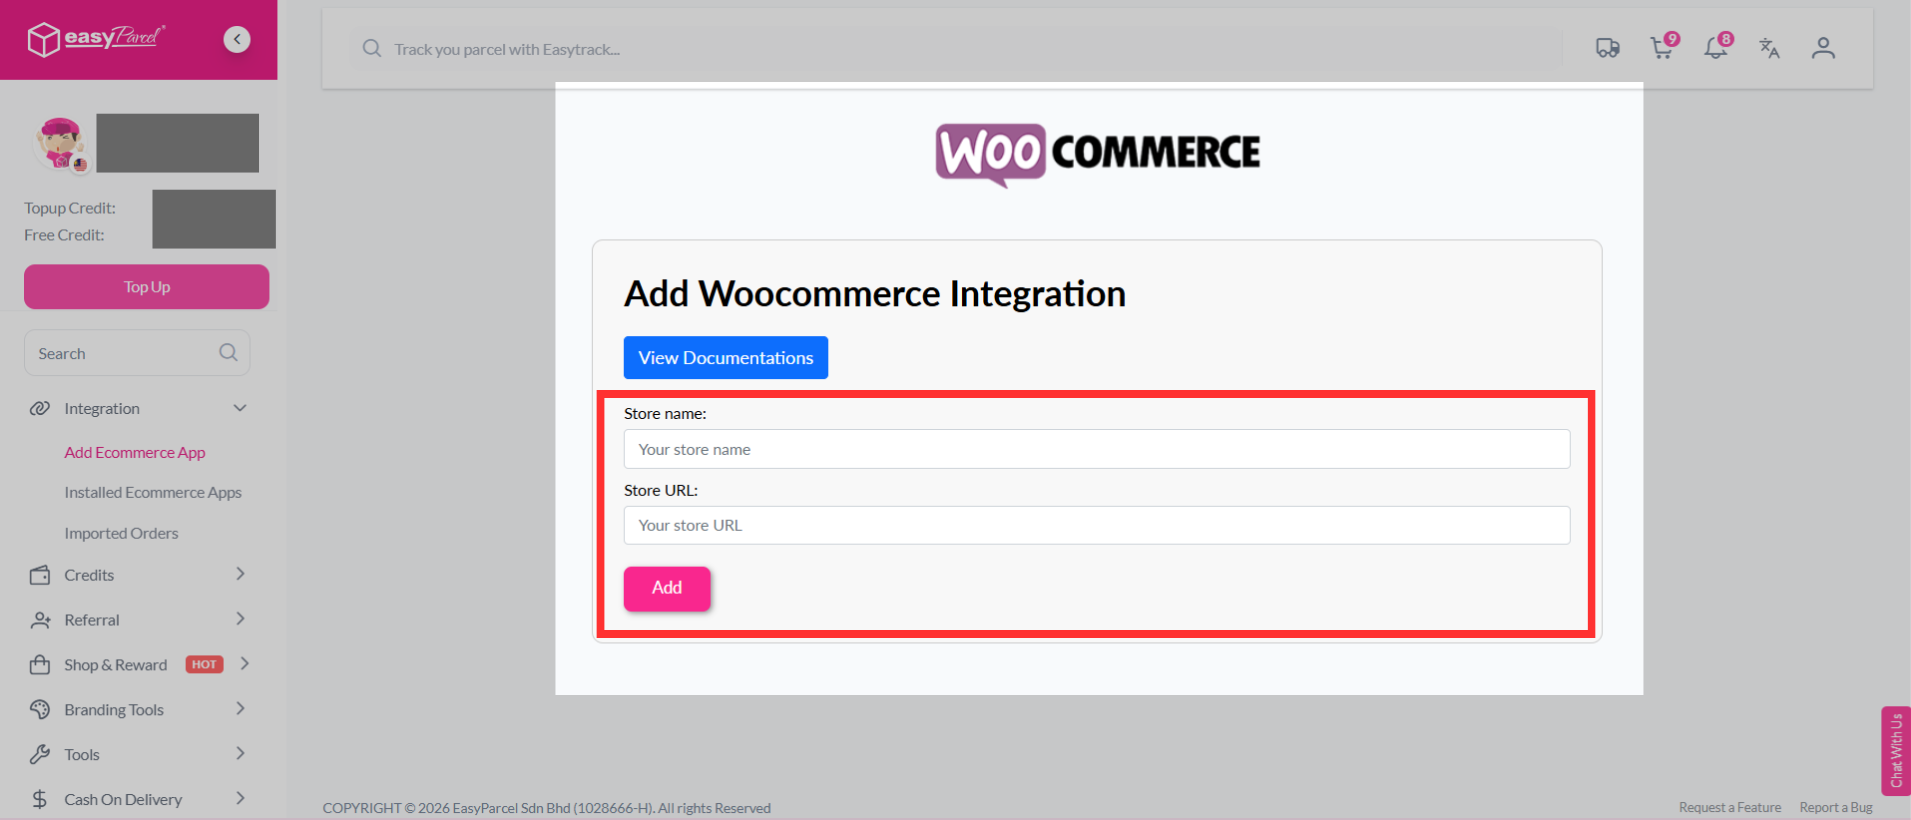
Step 5: Fill in your store’s name and store URL, then click "Add" to continue.
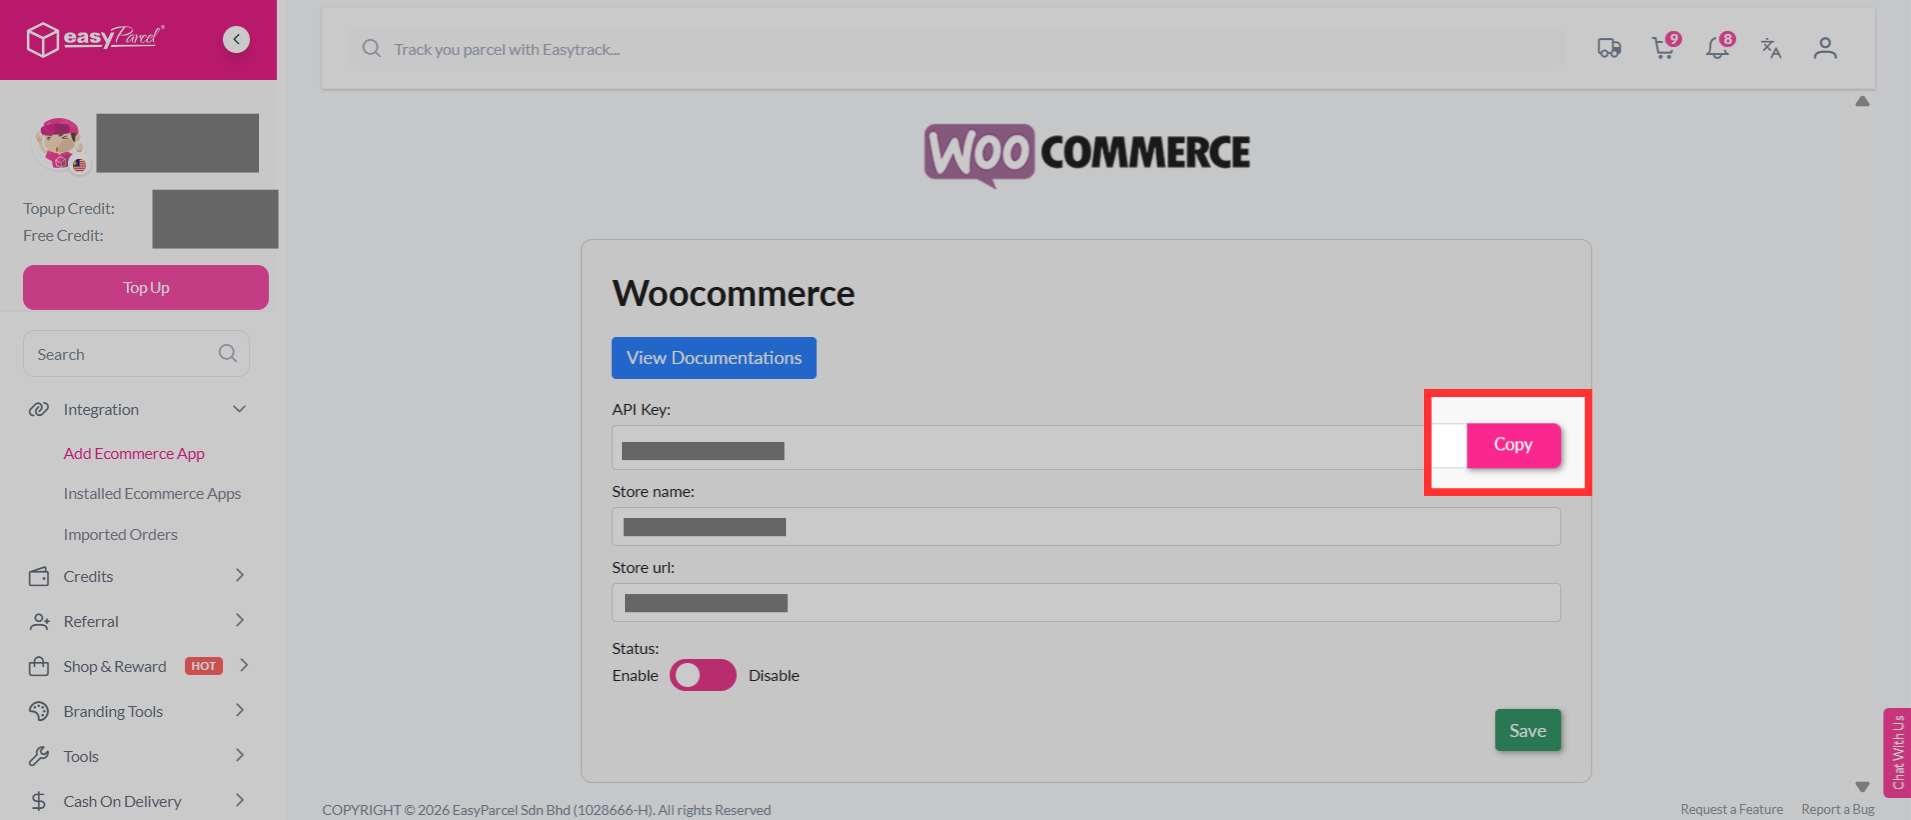
Step 6: EasyParcel will generate a unique Integration ID (API Key) for your store. Copy the Integration ID, as you will need to paste it into the WooCommerce store.
Step 7: Go to your WooCommerce admin panel and click "Plugins".
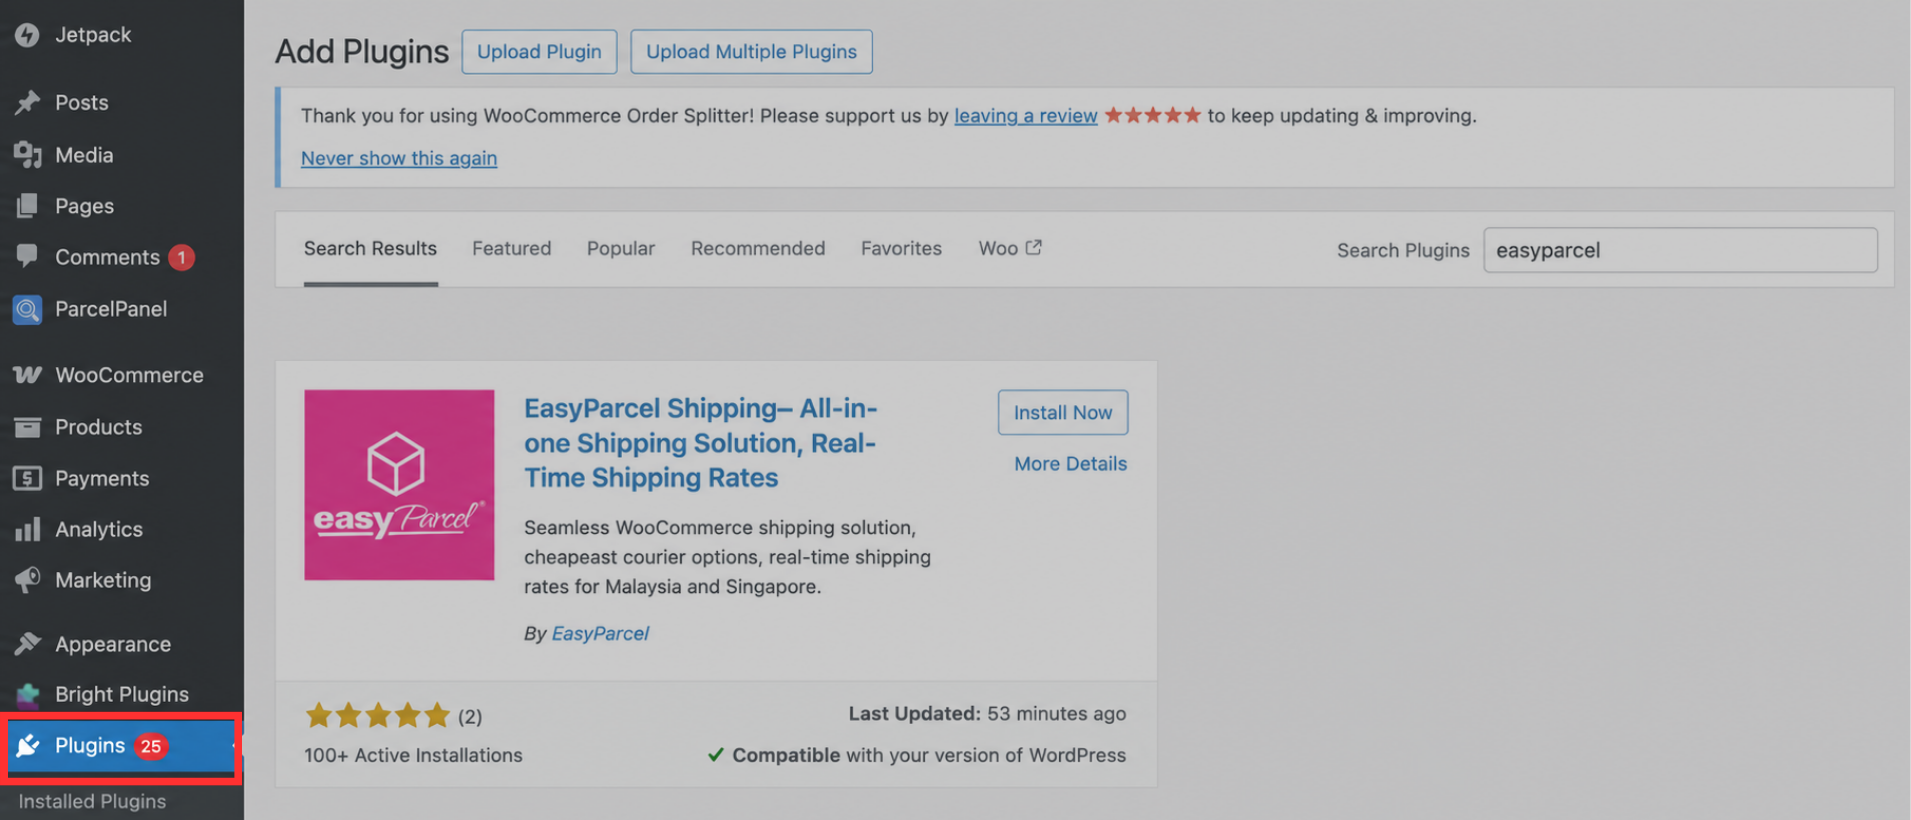
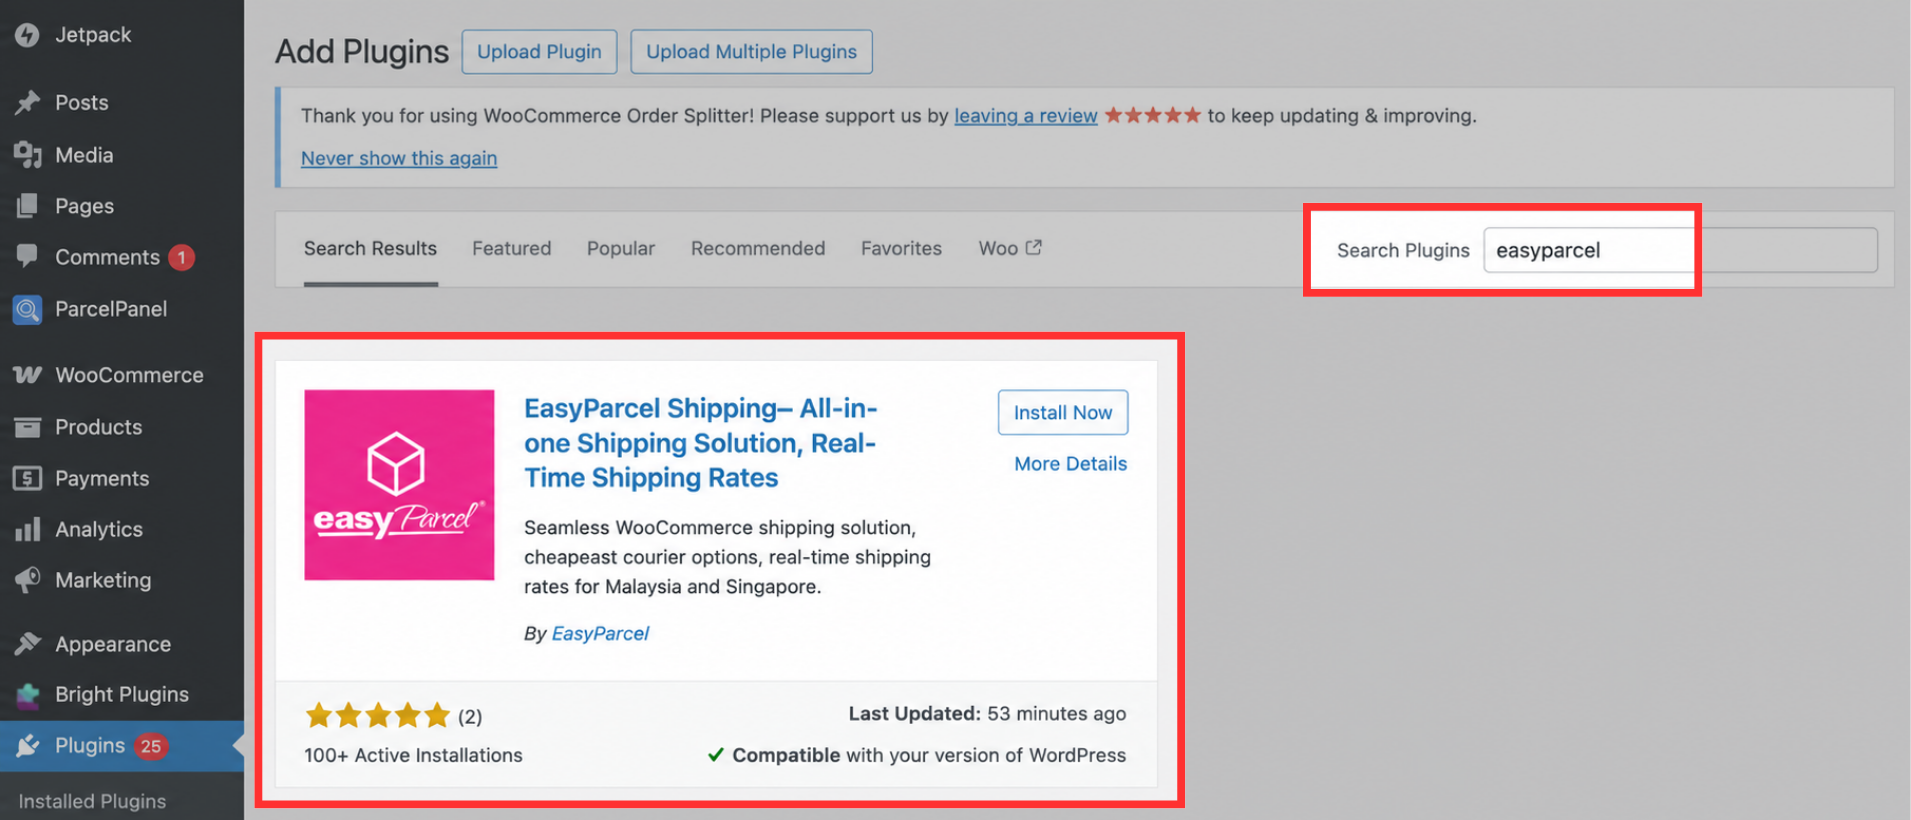
Step 8: Search for "EasyParcel" in the "Search Plugins" field, then click "Install Now".
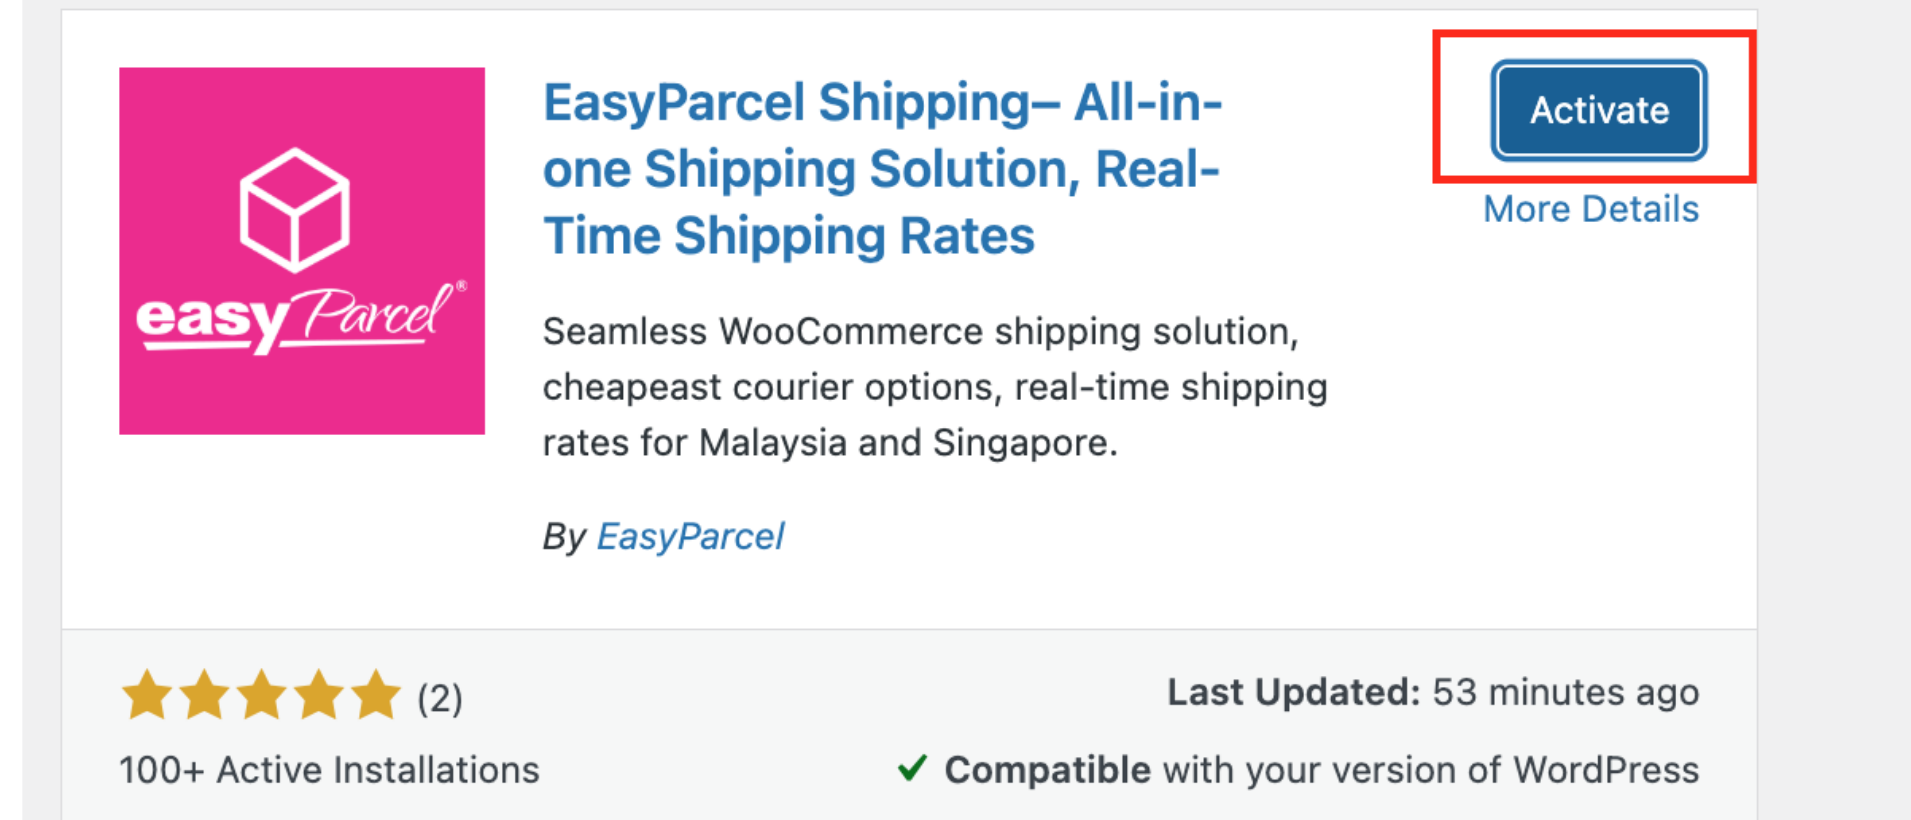
Step 9: Click "Activate".
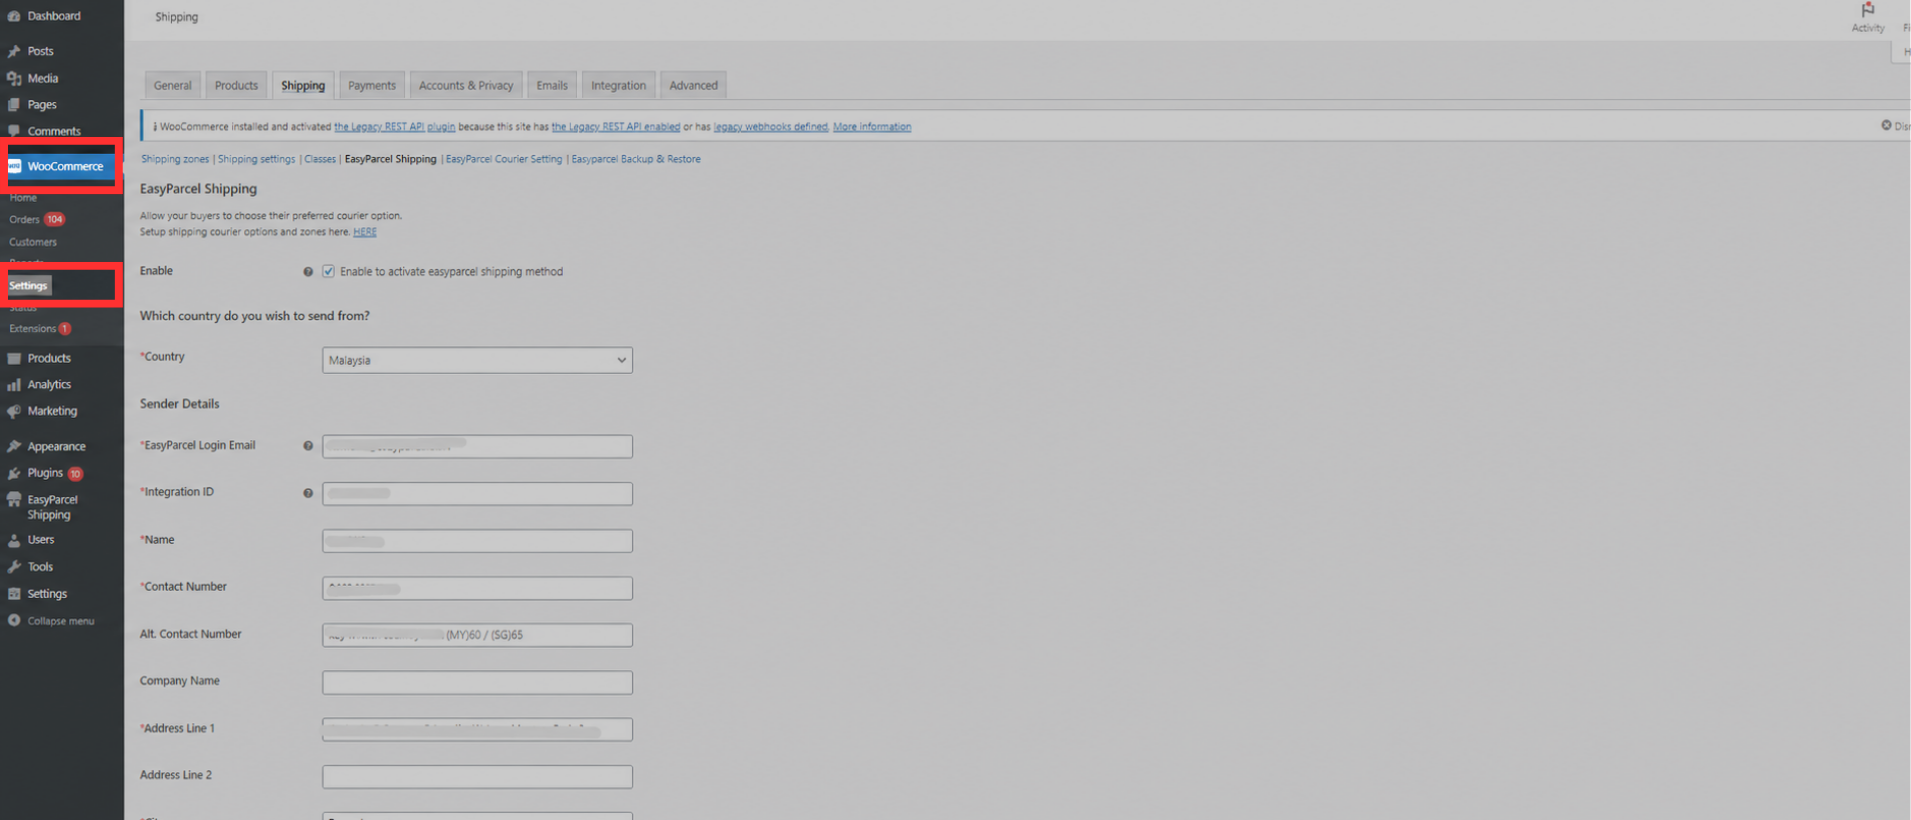
Step 10: Go to your WooCommerce settings.
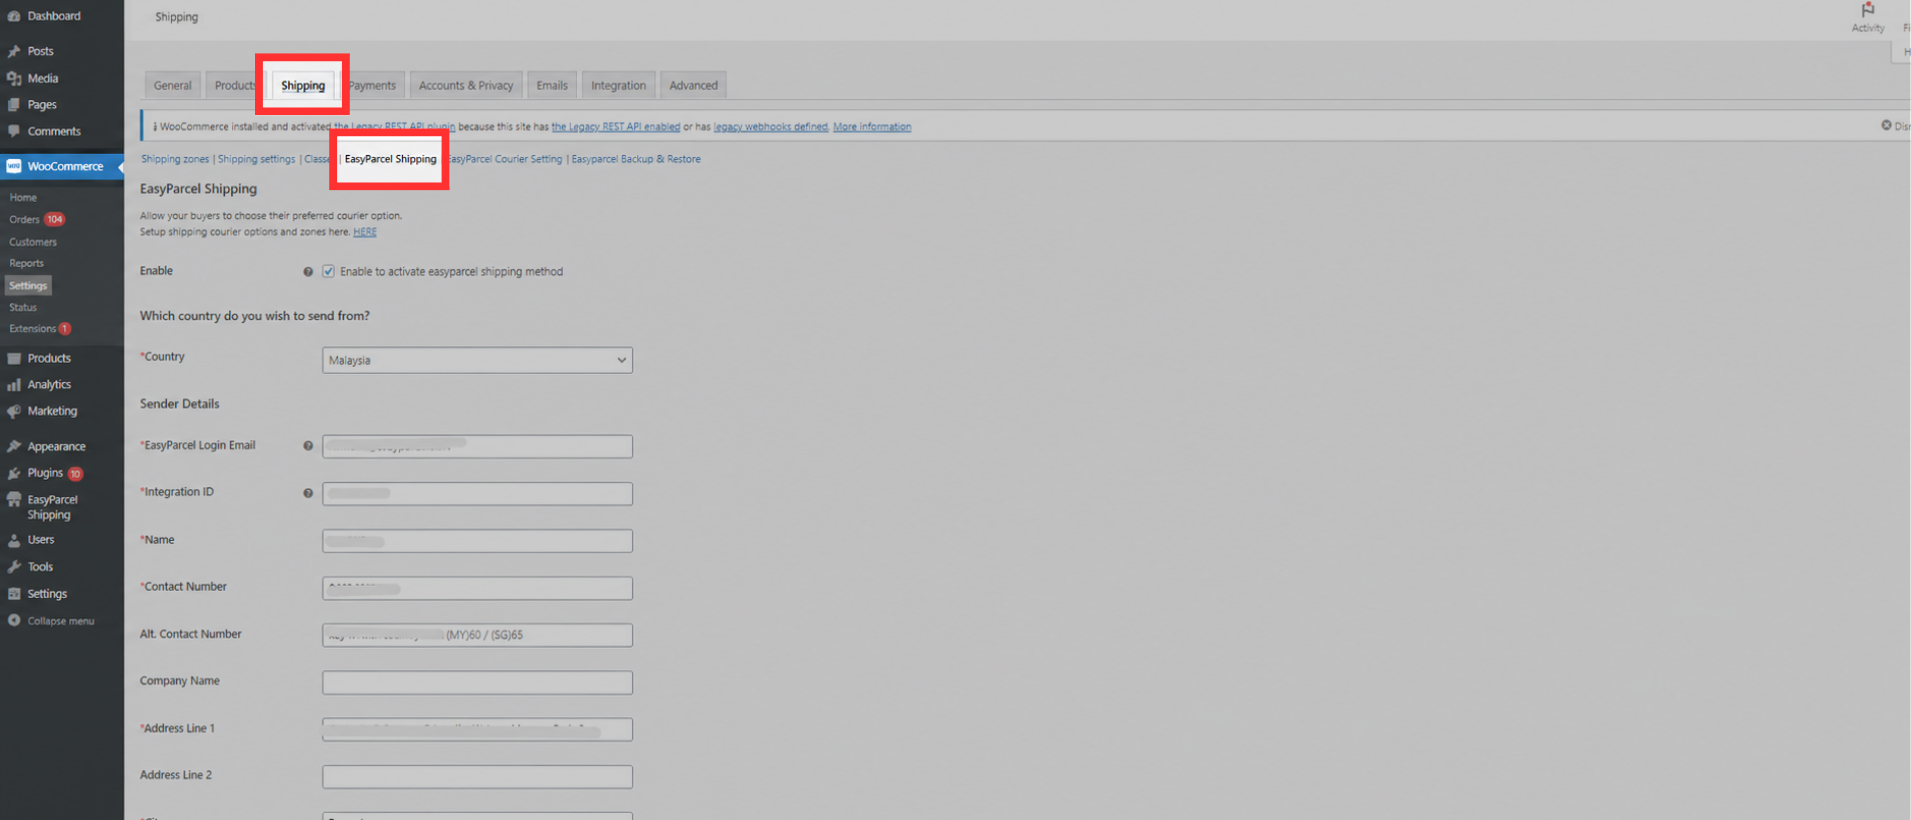
Step 11: Click the "Shipping" tab, then select "EasyParcel Shipping".
Note: The API key copied from EasyParcel will be placed as the Integration ID here.
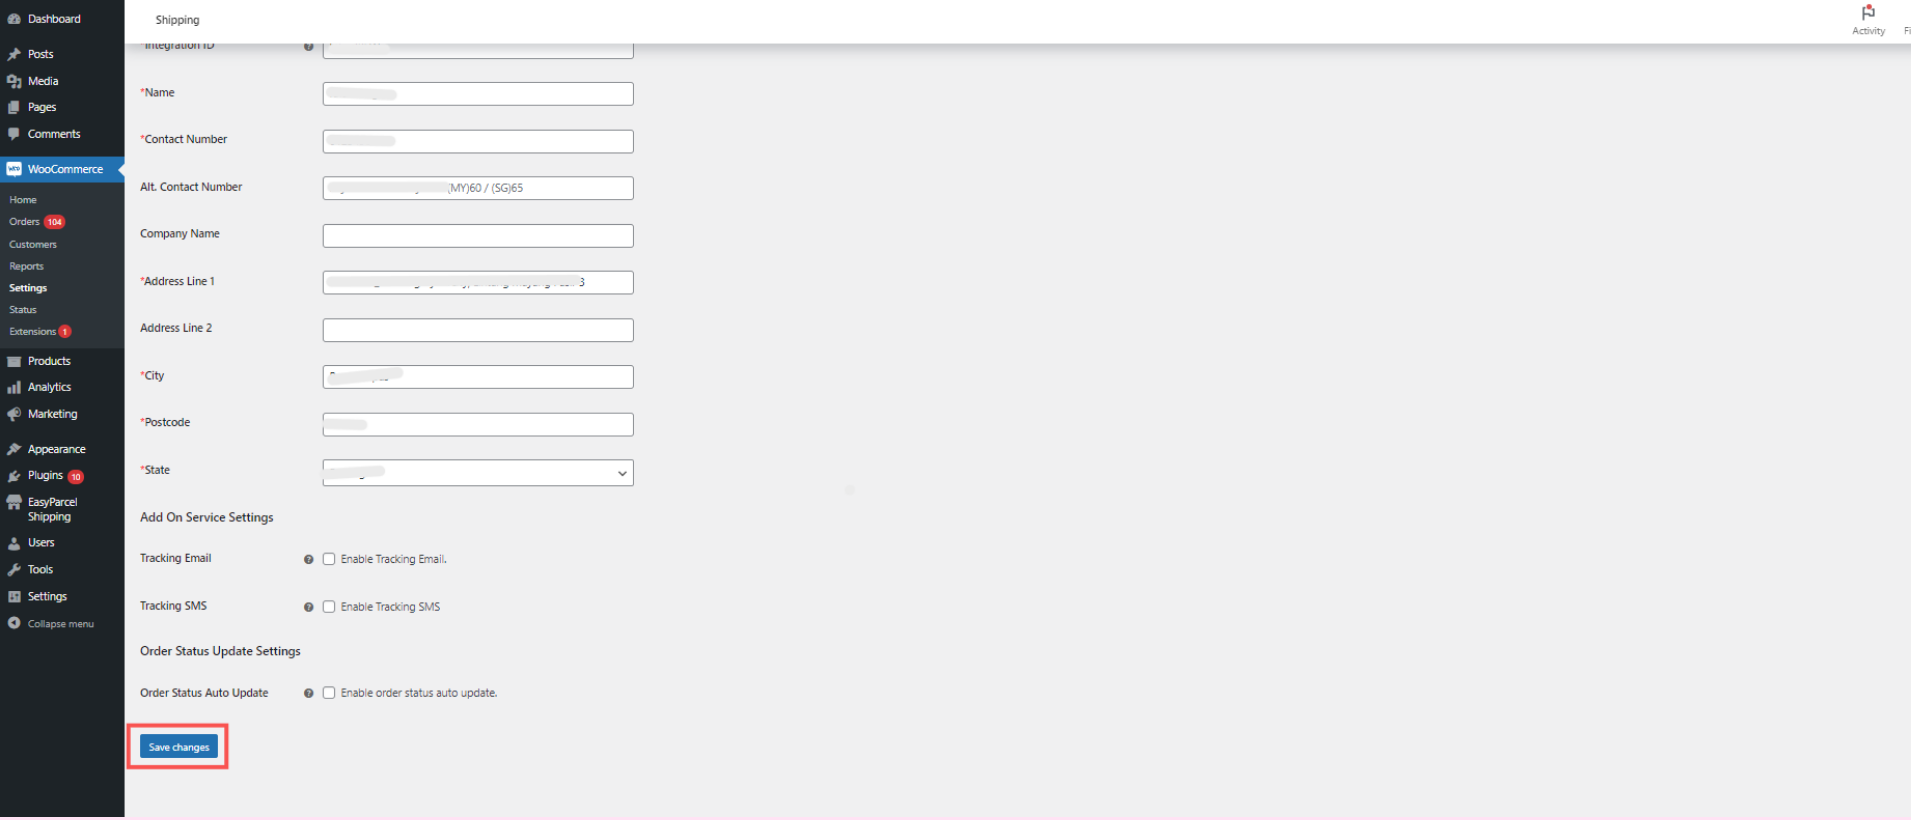
Step 12: Fill in the required details and click "Save changes".
Note: After filling out your address details, you may want to recheck it again to confirm the information, as quote rates will be based on the address you provided here.
Setting up Integration (Import Version)
Step 1: From the dashboard, navigate to "Integration" and select it. Then, click "Add Ecommerce App".
Step 2: Find "WooCommerce" from the list, and click "Install App".
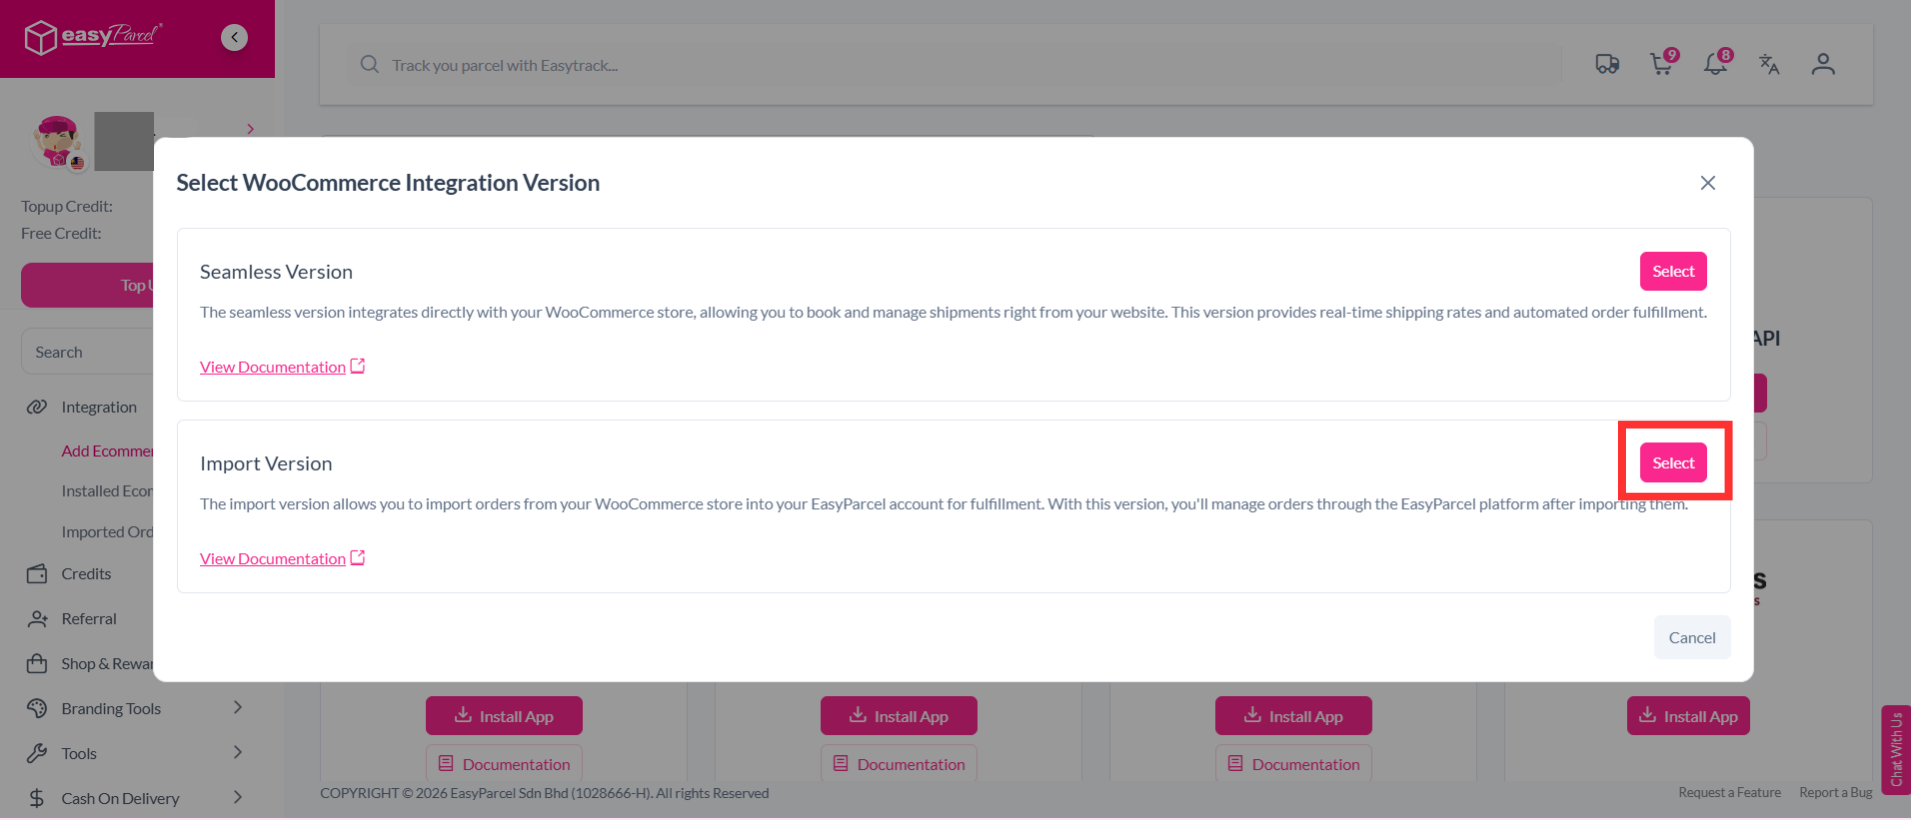
Step 3: Select "Import Version".
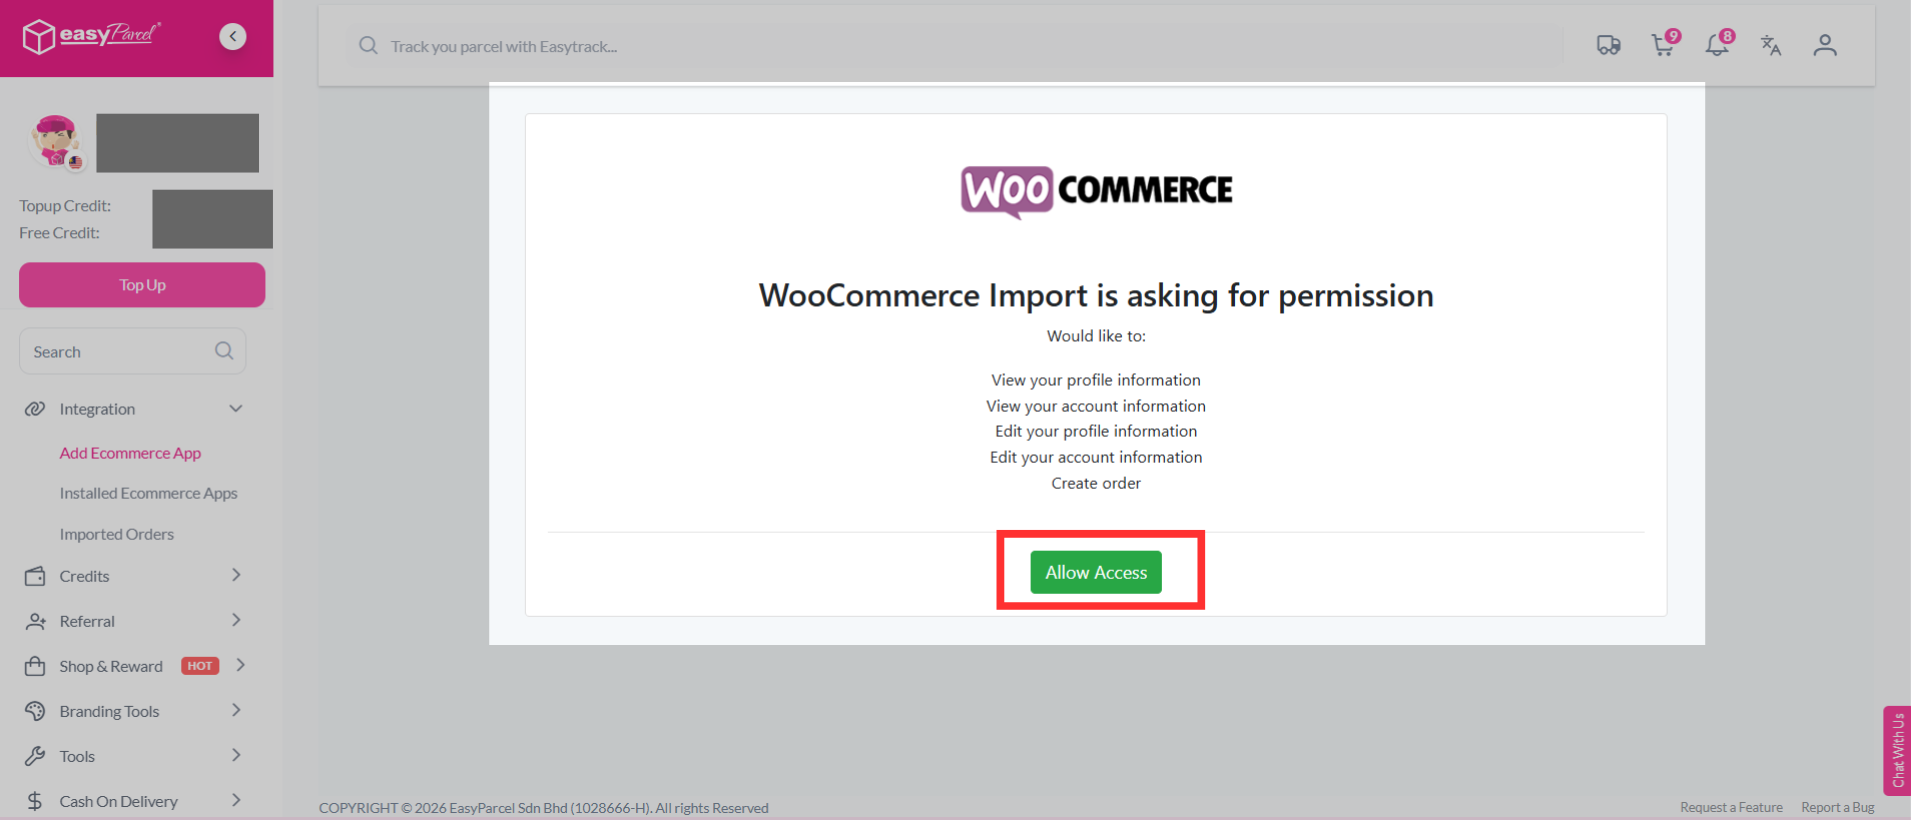
Step 4: WooCommerce will ask for permission to connect with EasyParcel. Review the requested permissions, then click "Allow Access" to continue.
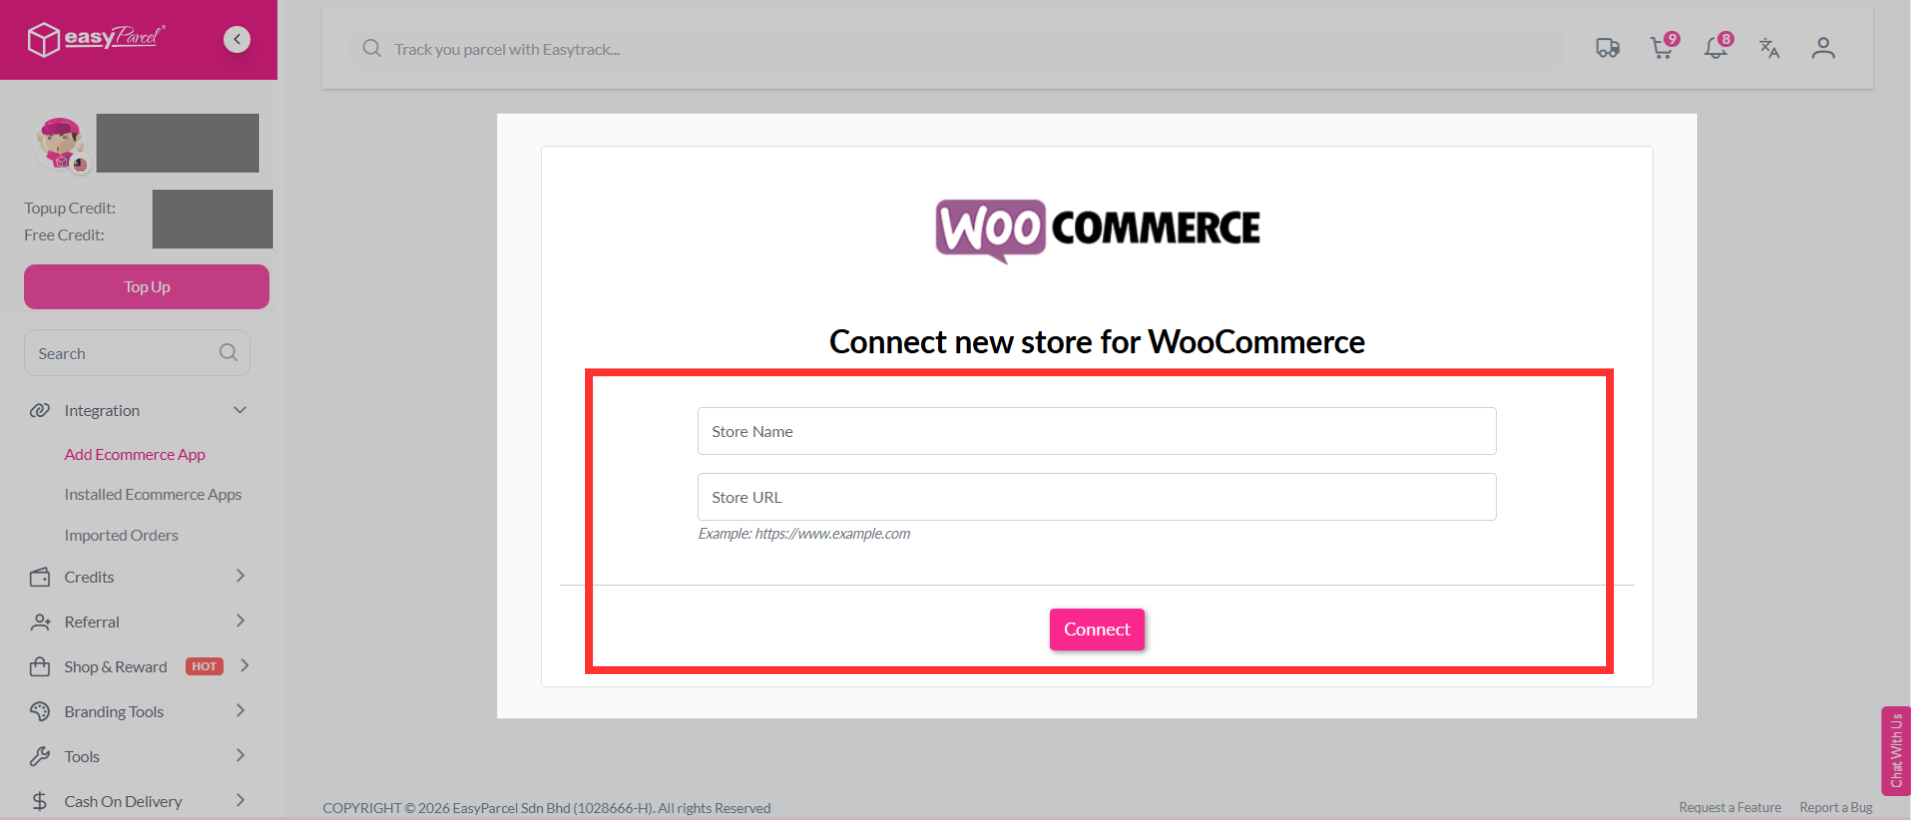
Step 5: Fill in your store’s name and store URL, then click "Connect" to continue.
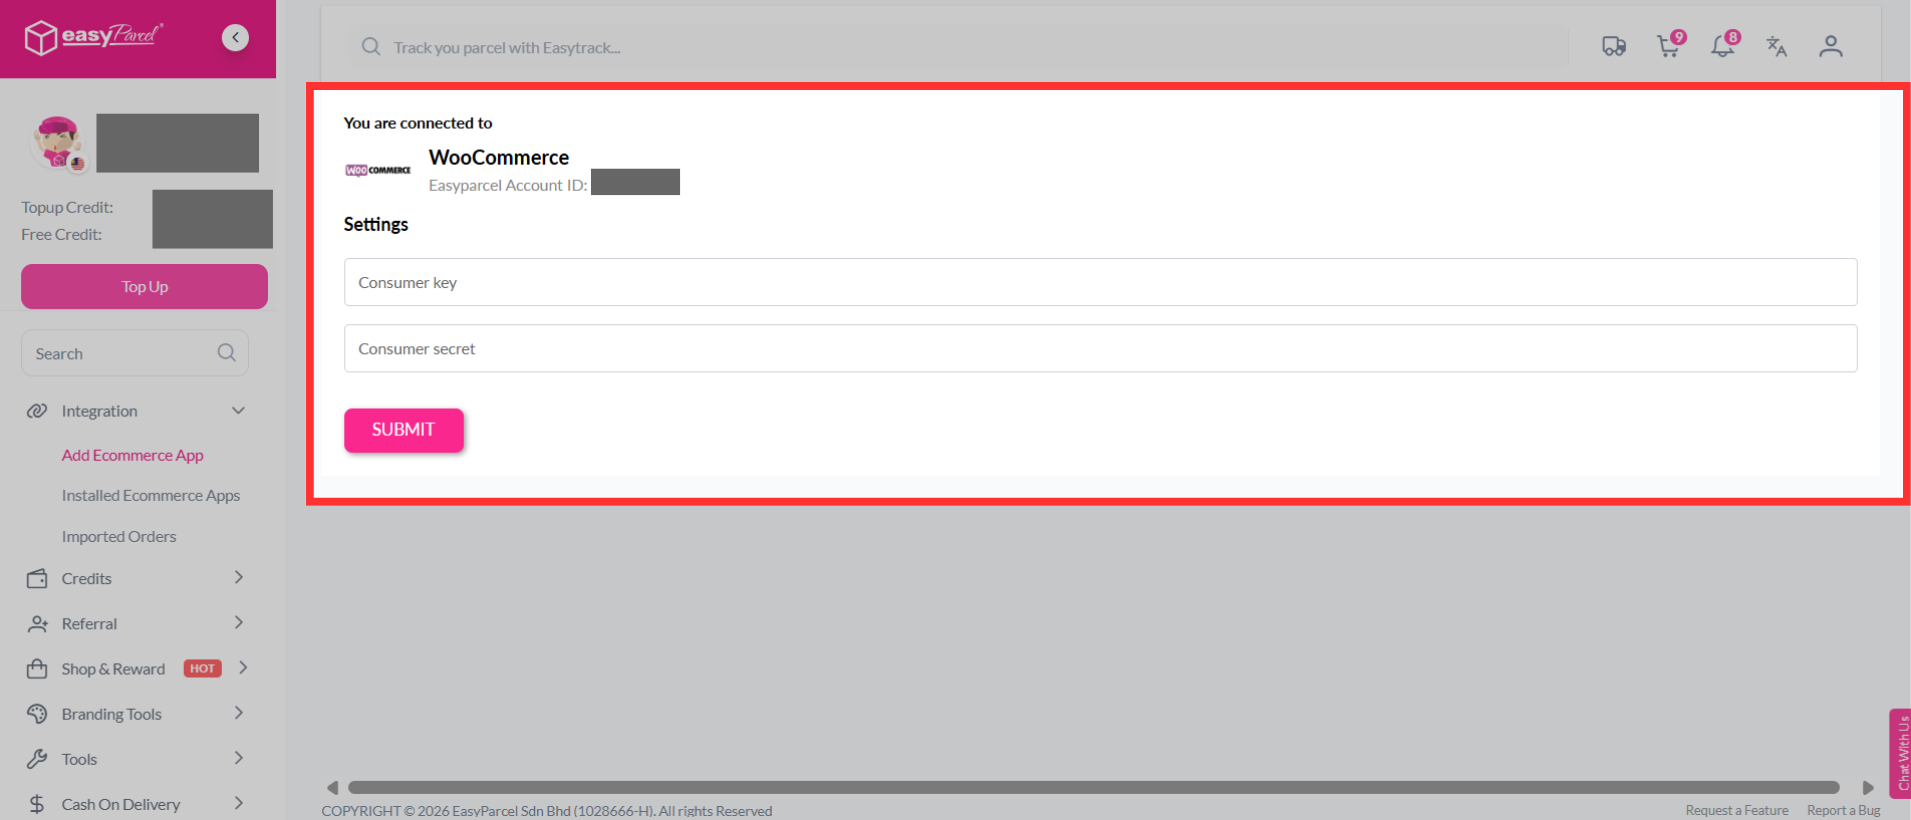
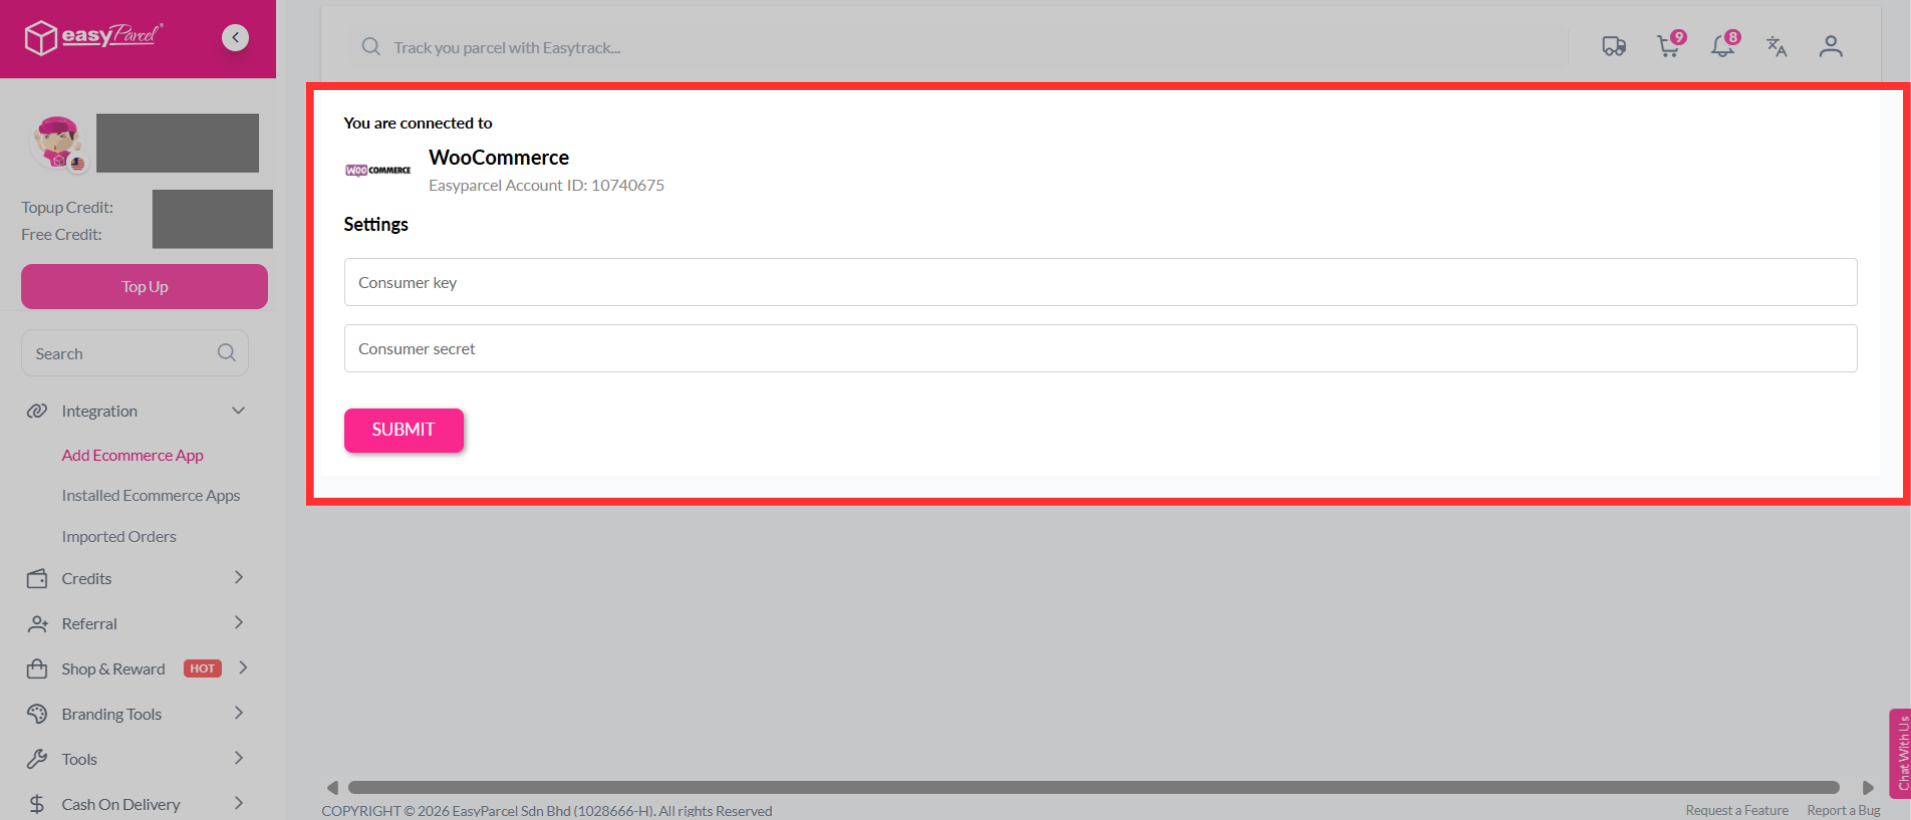
Step 6: You may be required to key in your "Consumer key" and "Consumer secret".
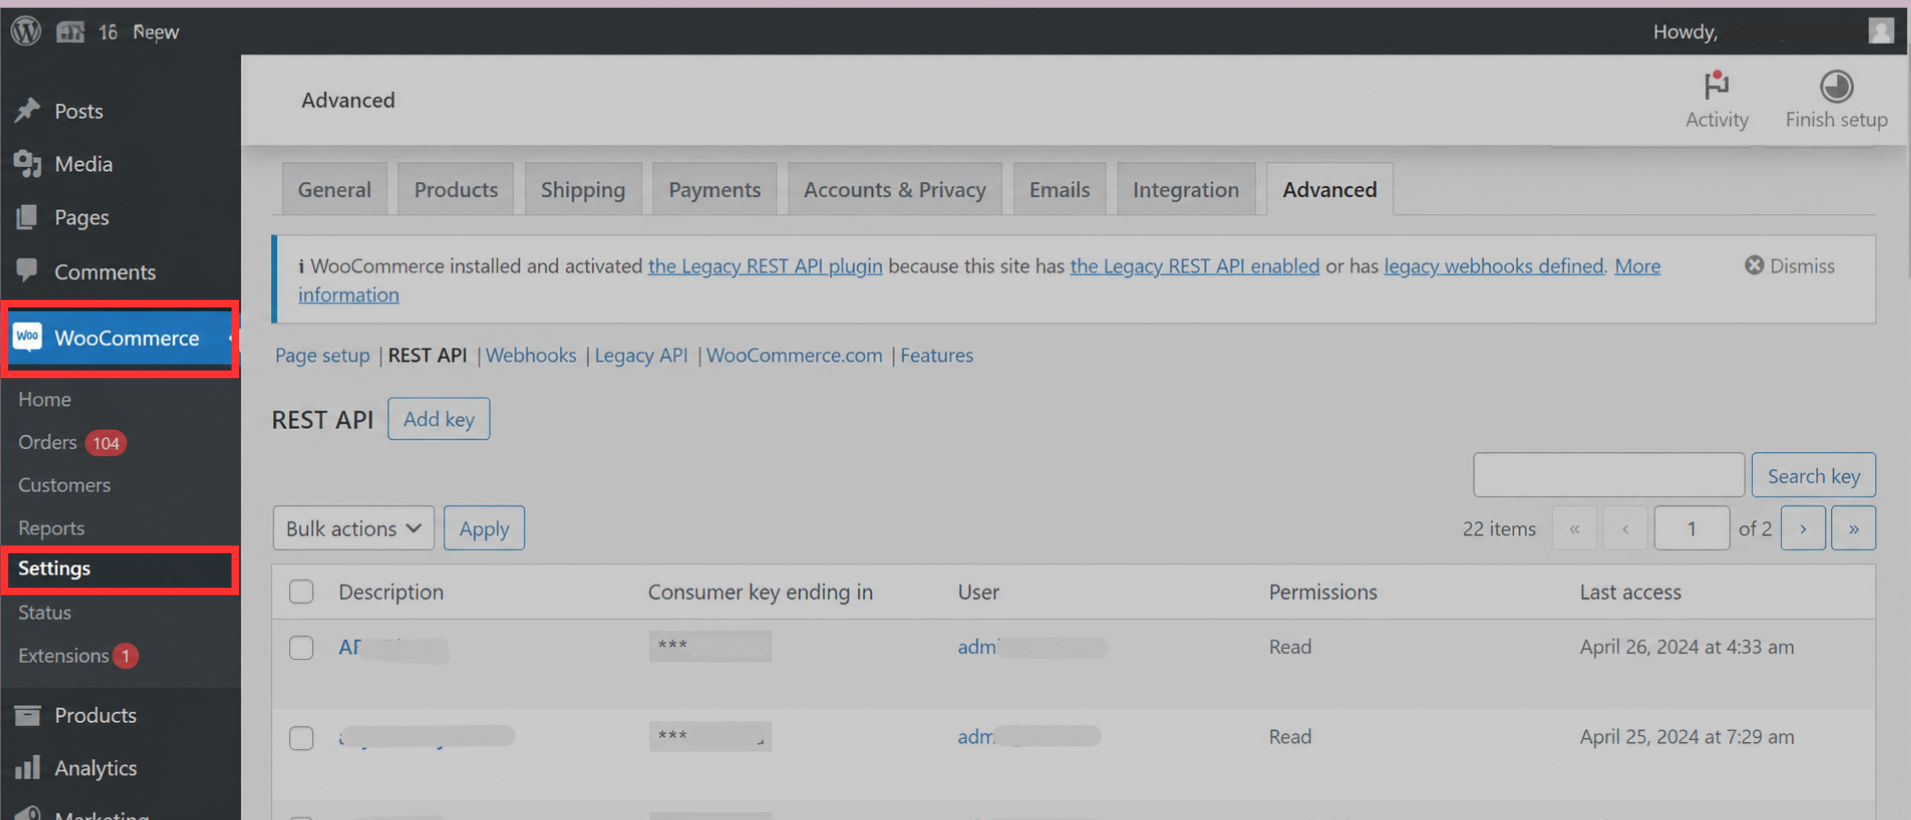
Step 7: Go to your WooCommerce settings.
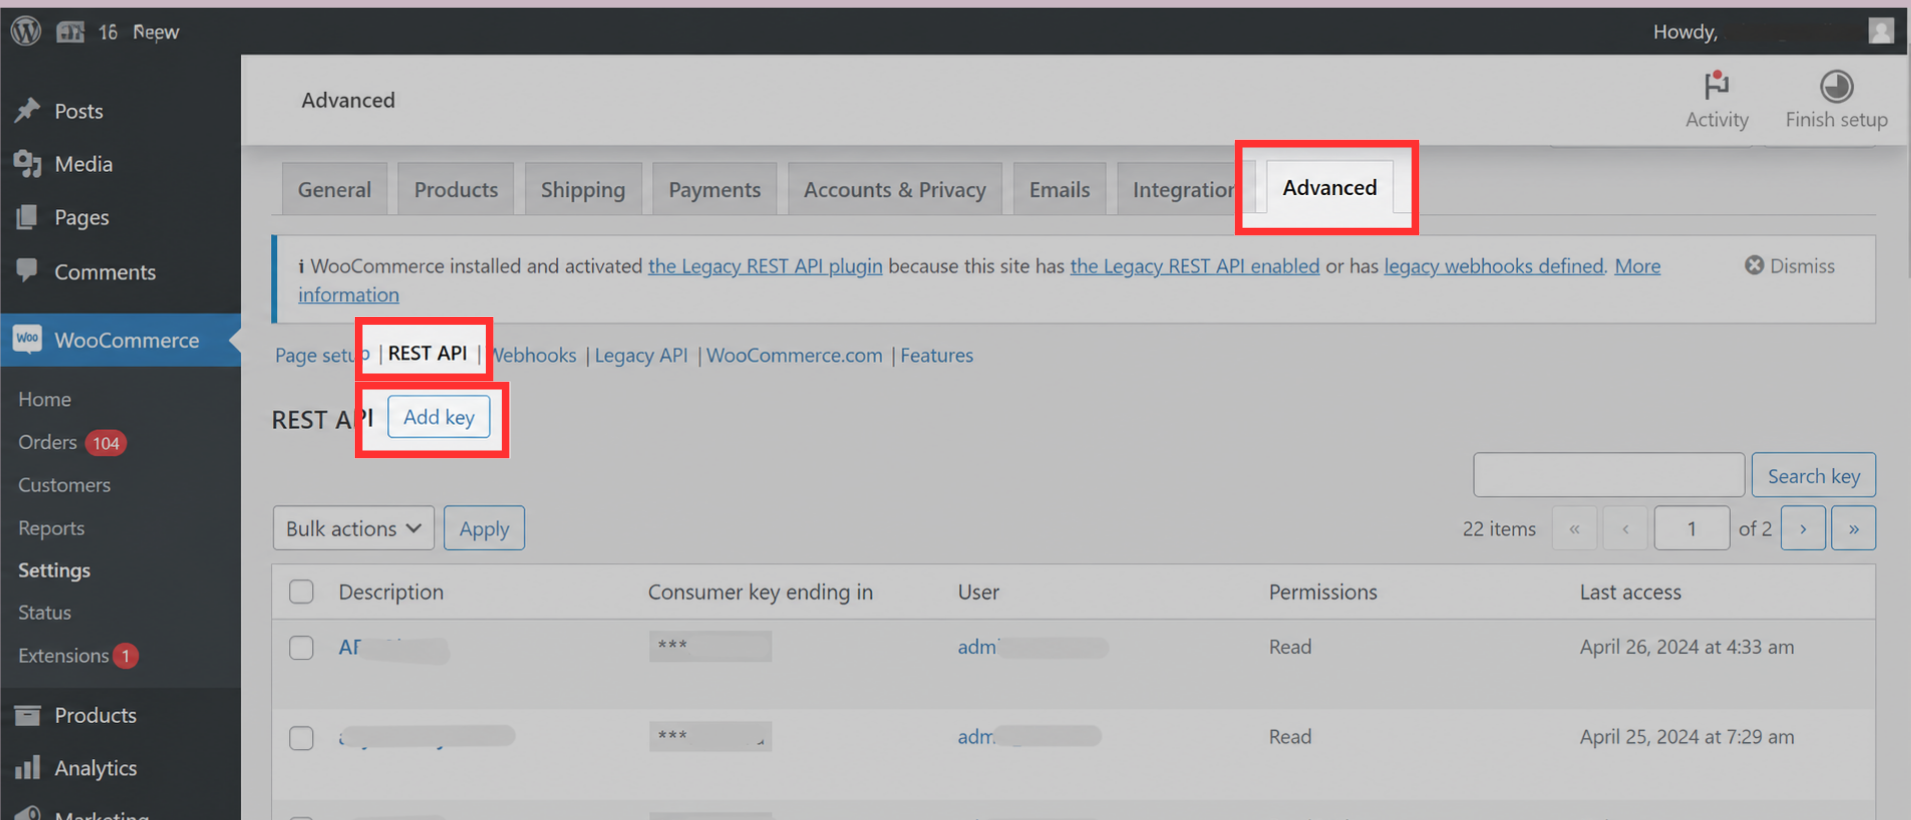
Step 8: Click the "Advanced" tab, select "REST API", then click "Add key".
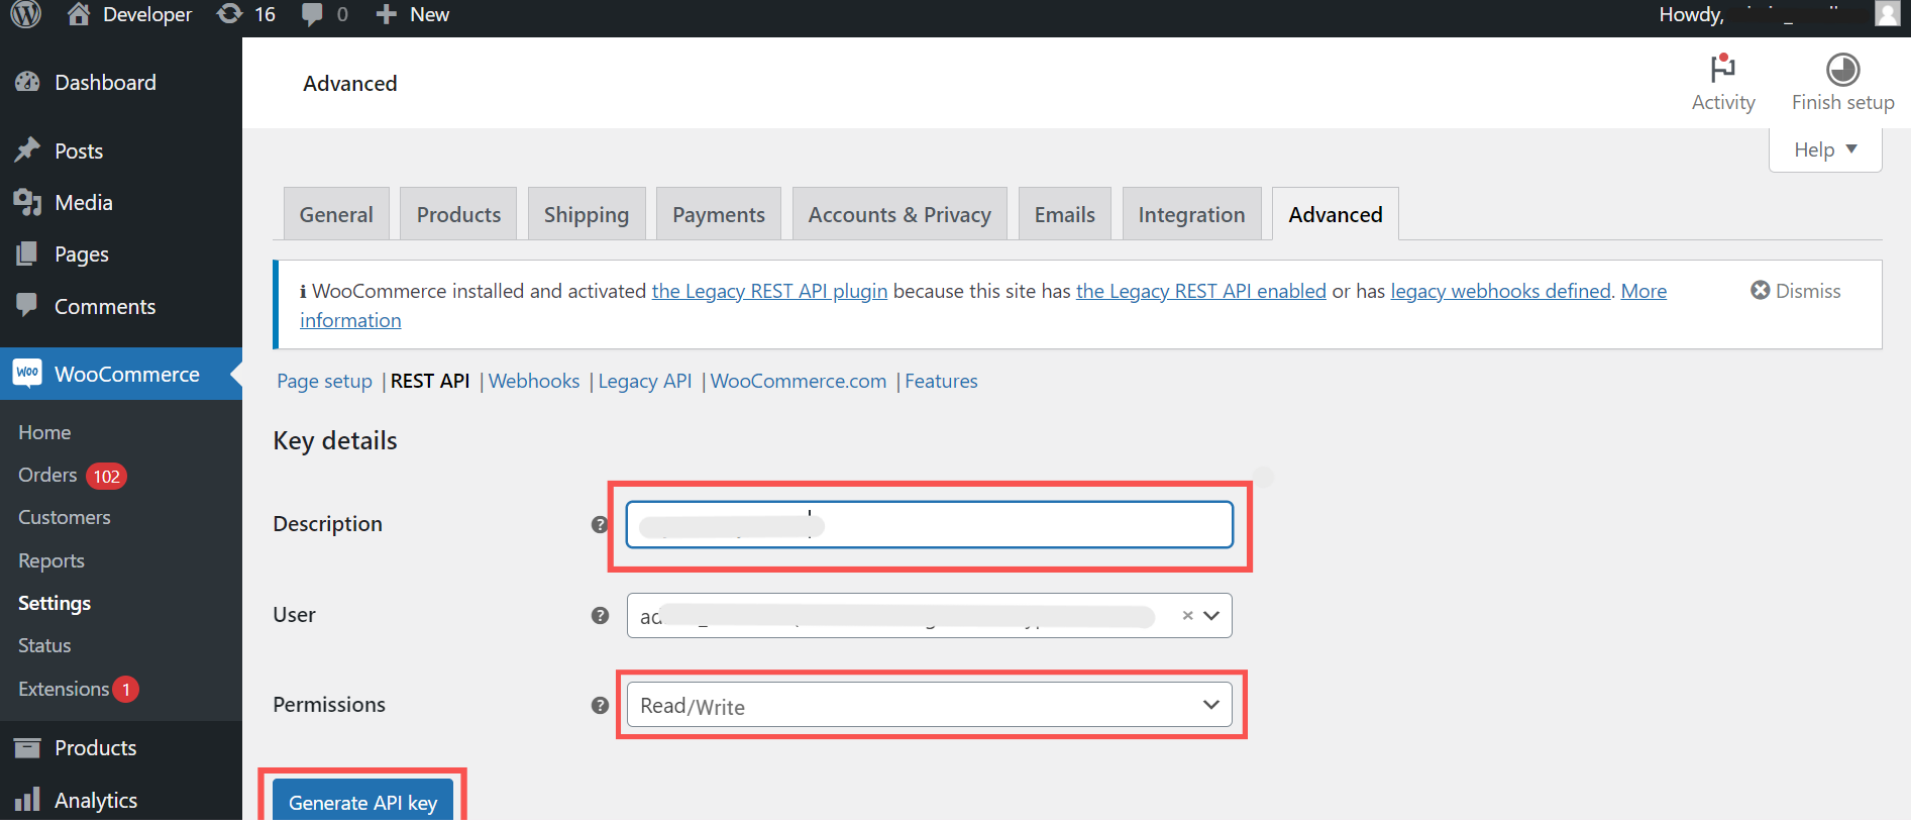
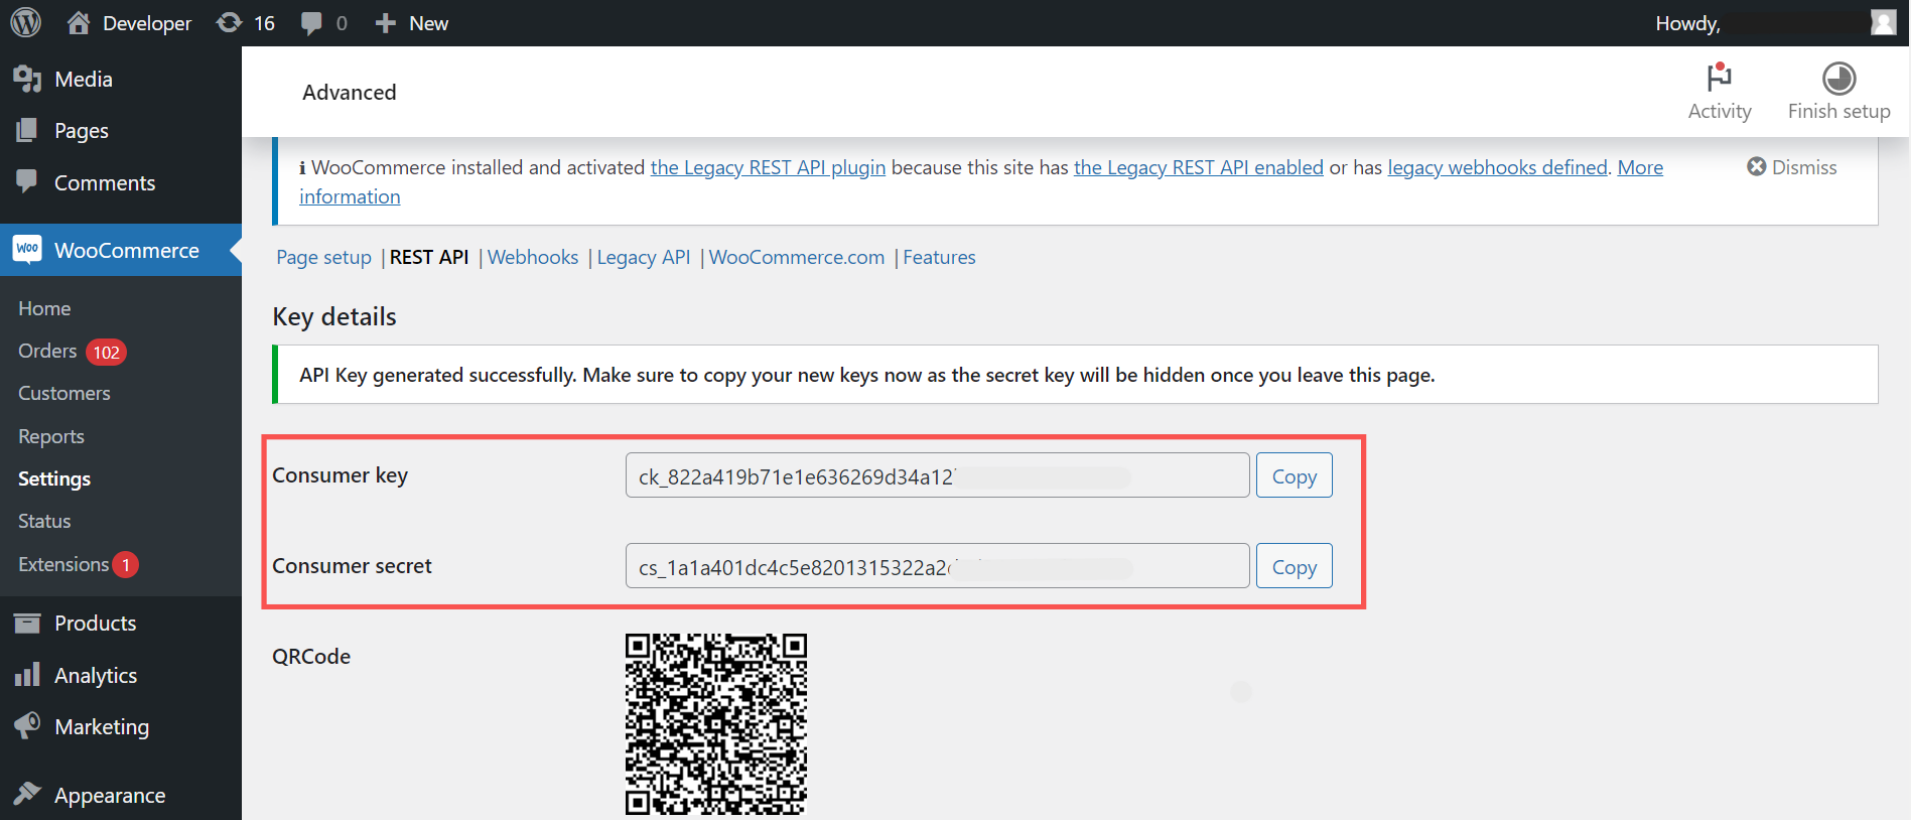
Step 9: Add a description for the key, set the permissions to "Read/Write", then click "Generate API key".
Step 10: Once the "Consumer key" and "Consumer secret" are generated, copy and paste them into your EasyParcel account. Then, click "Submit".
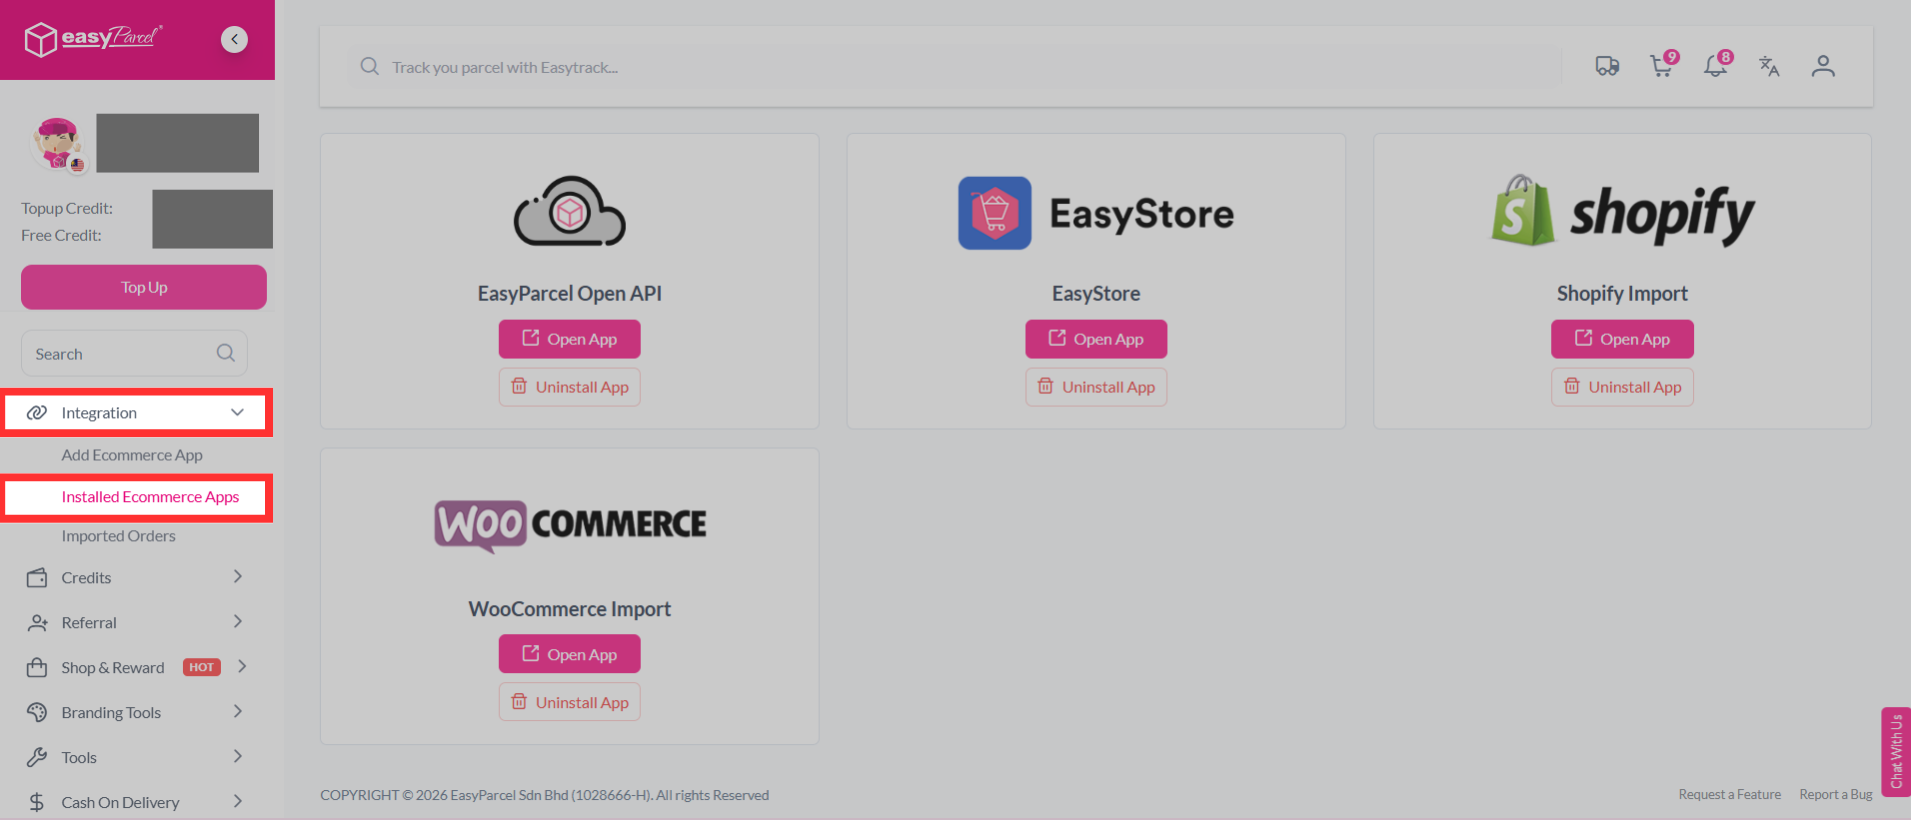
Step 11: Under "Integration", click "Installed Ecommerce Apps".
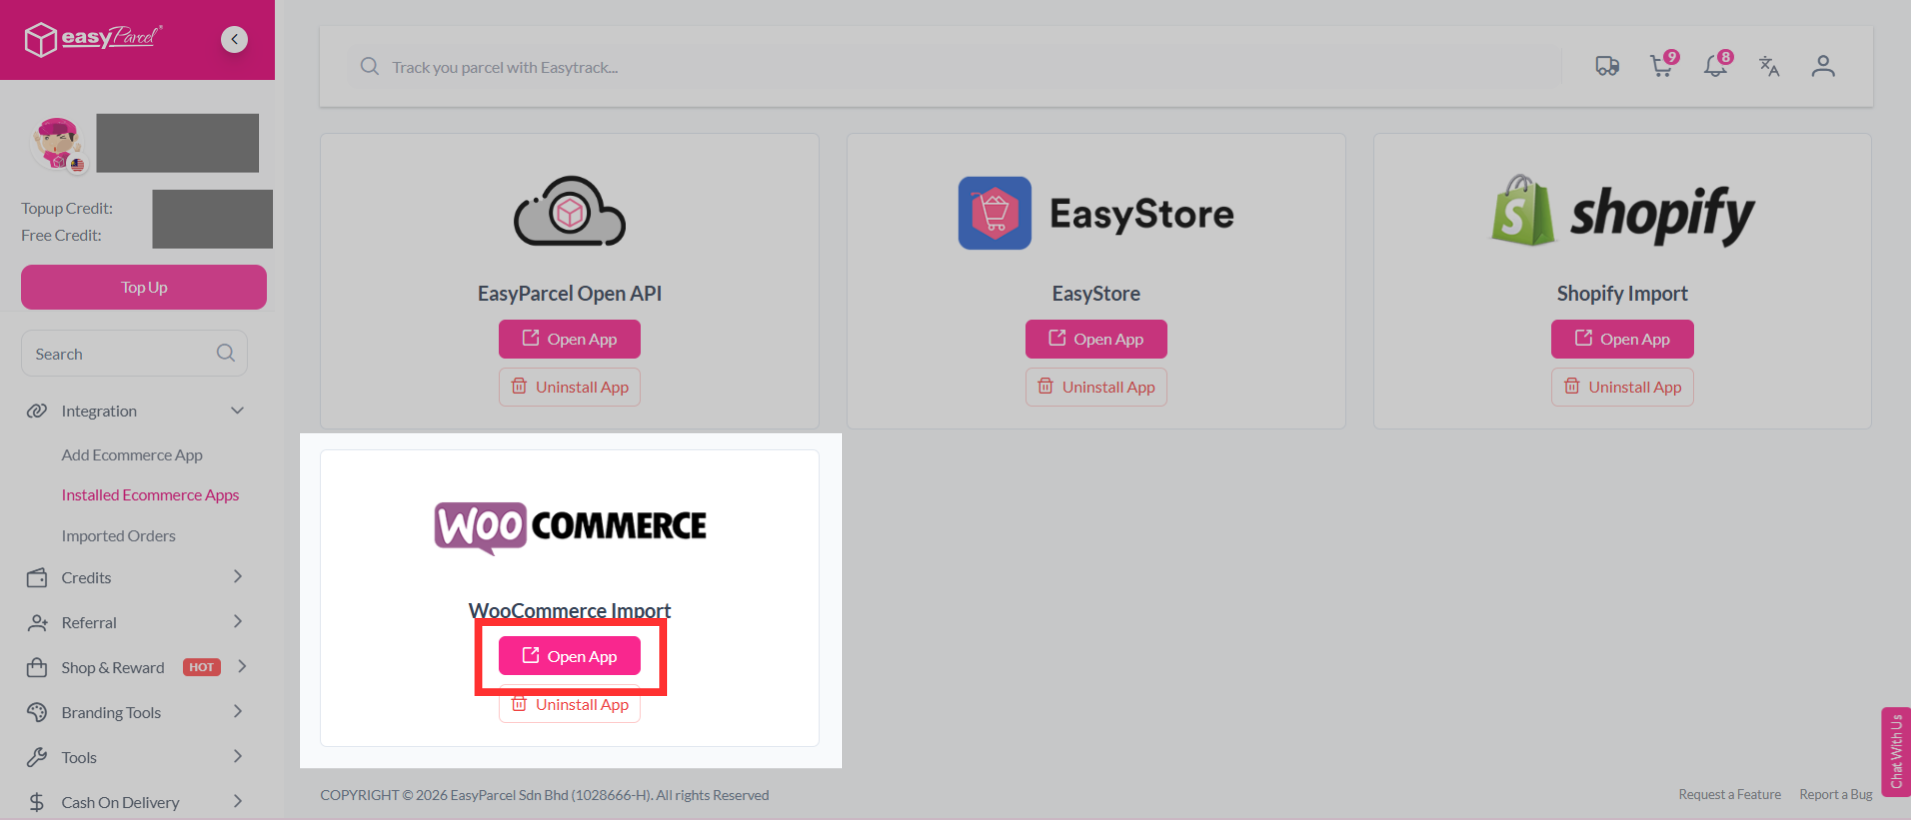
Step 12: Find "WooCommerce Import". Click "Open App".
Step 13: In your store, click "Sender Address", fill in your sender details, then click "Update".
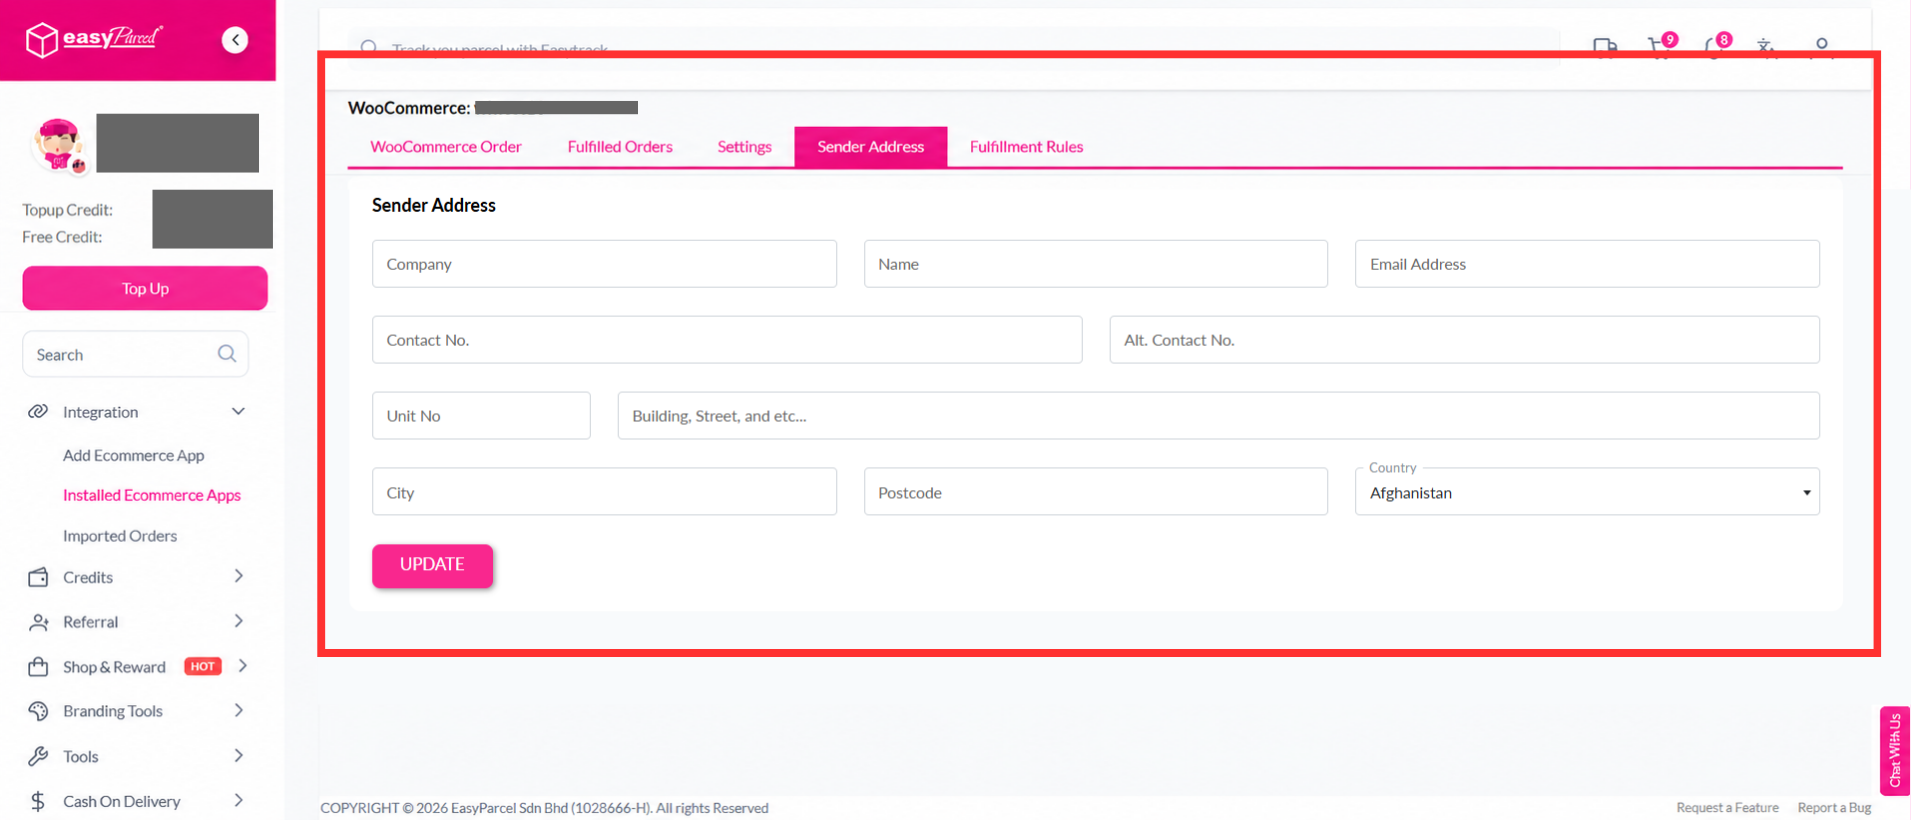
Step 14: Done! You have successfully set up the WooCommerce Import app in EasyParcel.